
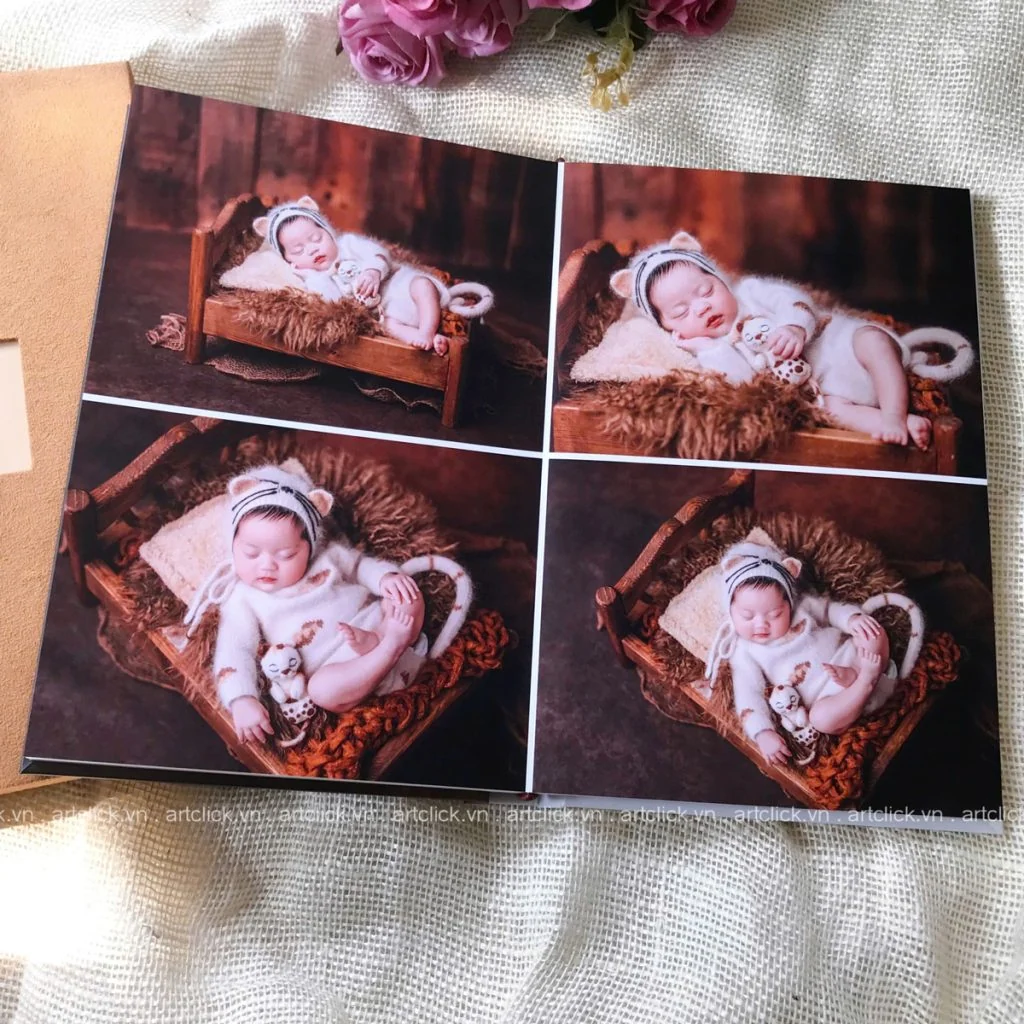
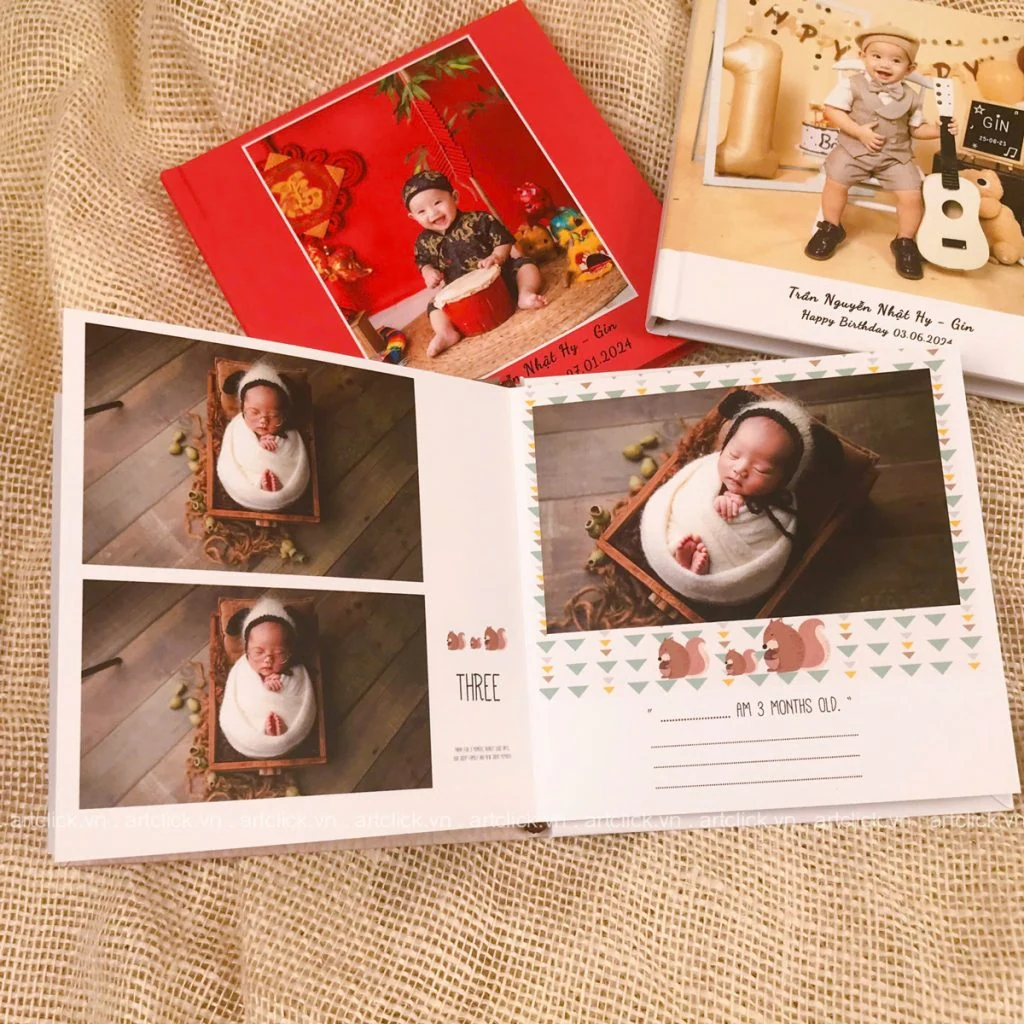
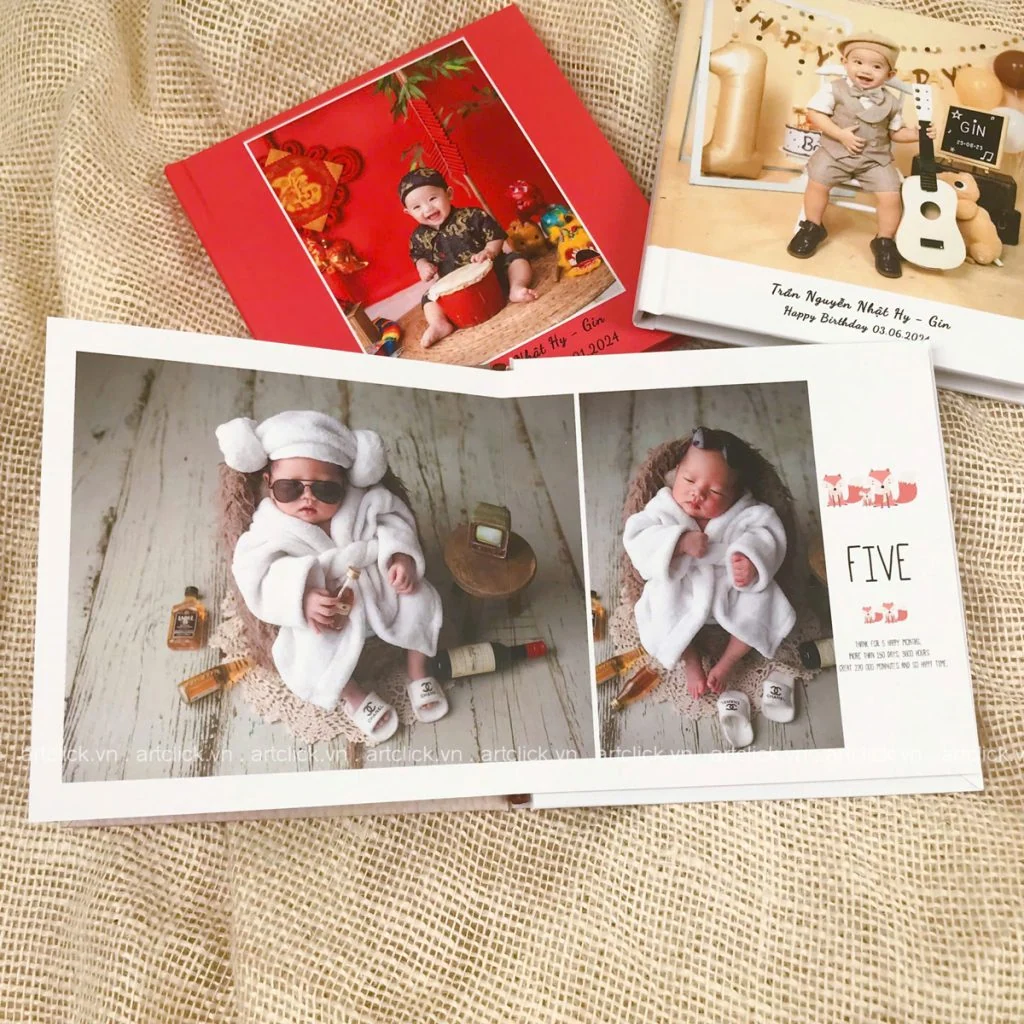
Kinh nghiệm lựa chọn trang phục cho bộ ảnh bé sơ sinh cực xinh
Chào đón một thành viên mới là cột mốc thiêng liêng và hạnh phúc nhất của mỗi gia đình. Những ngày đầu đời, bé yêu thay đổi nhanh chóng qua


QUICK design guide with baby photo album making software ACBook, designing baby photo albums becomes simpler and faster than ever with the FAST-BOOK function of ACBook free online design software.
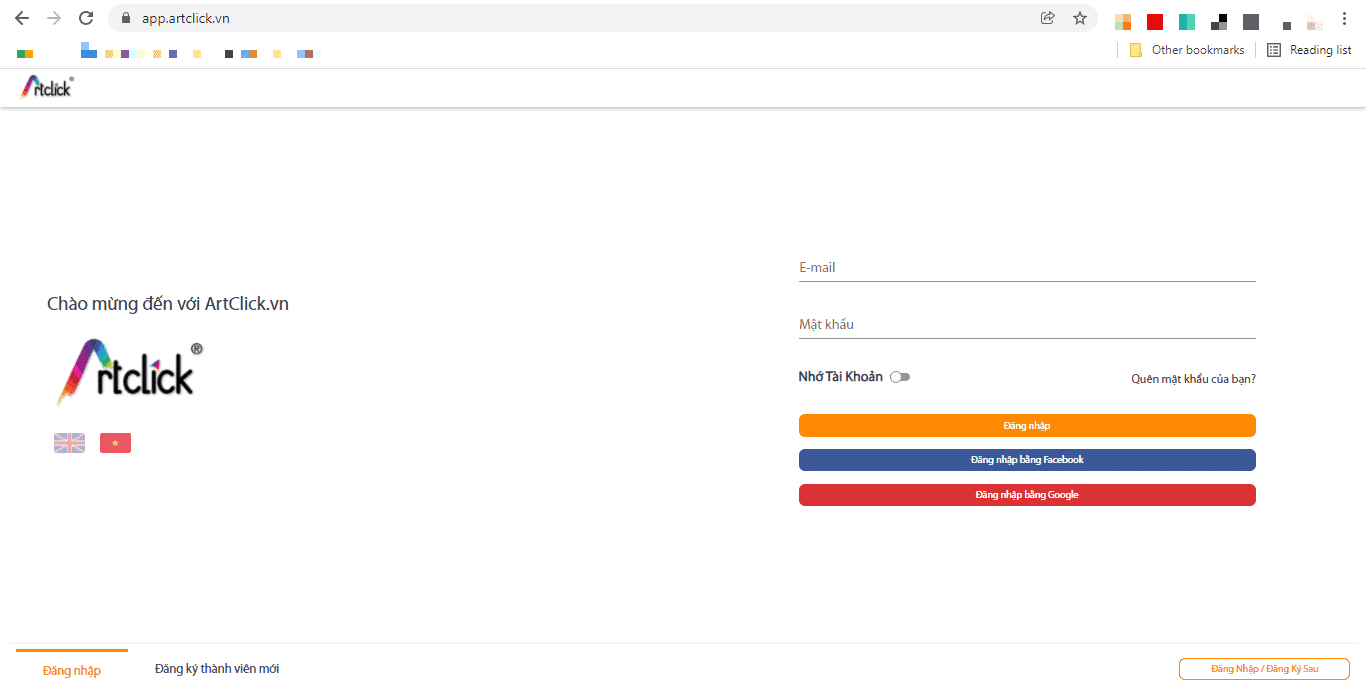
You can register using email, Google account, or Facebook. And no email confirmation required.
Select English/Vietnamese language.
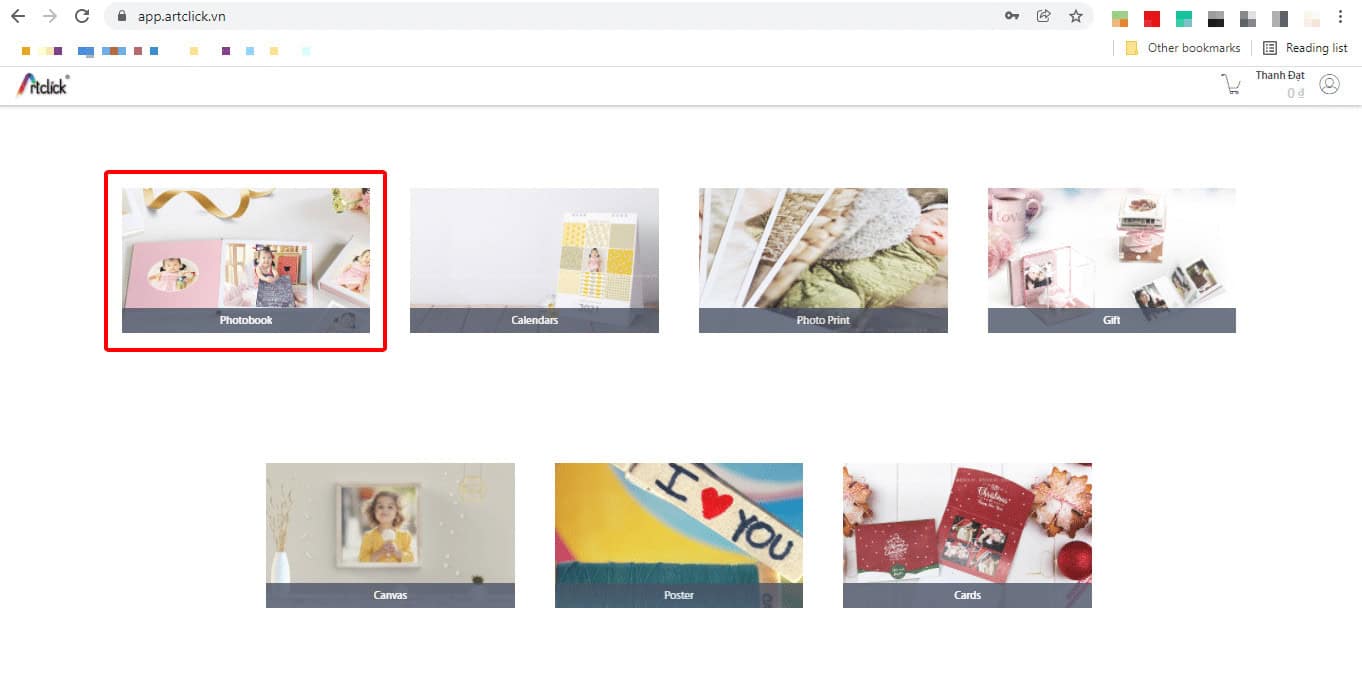
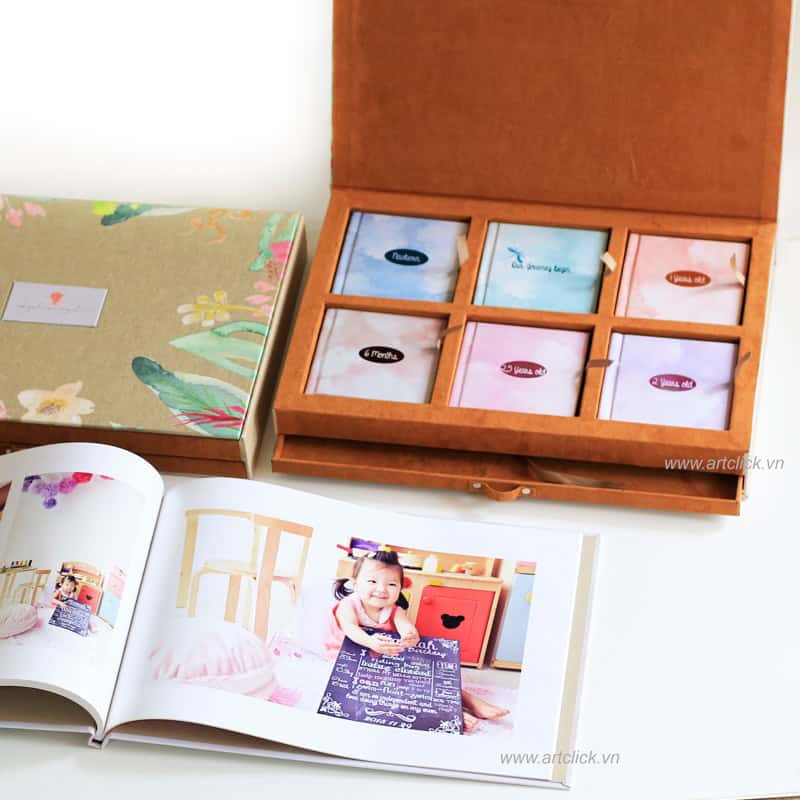
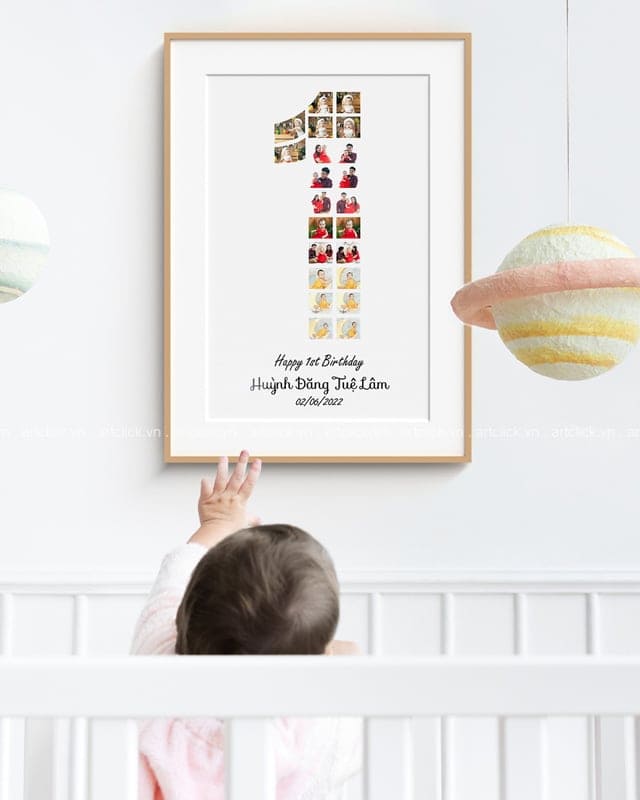
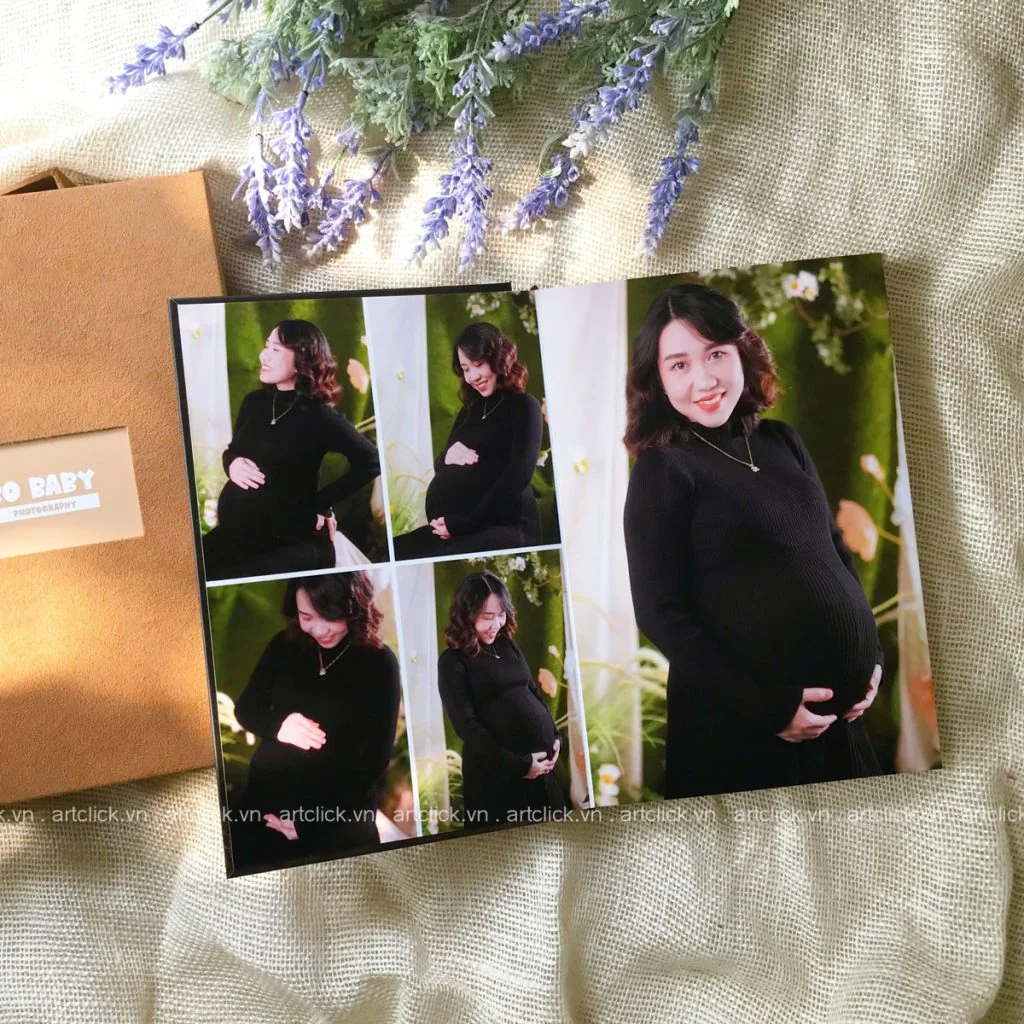
Select “Photobook” to design a photo album for your baby.
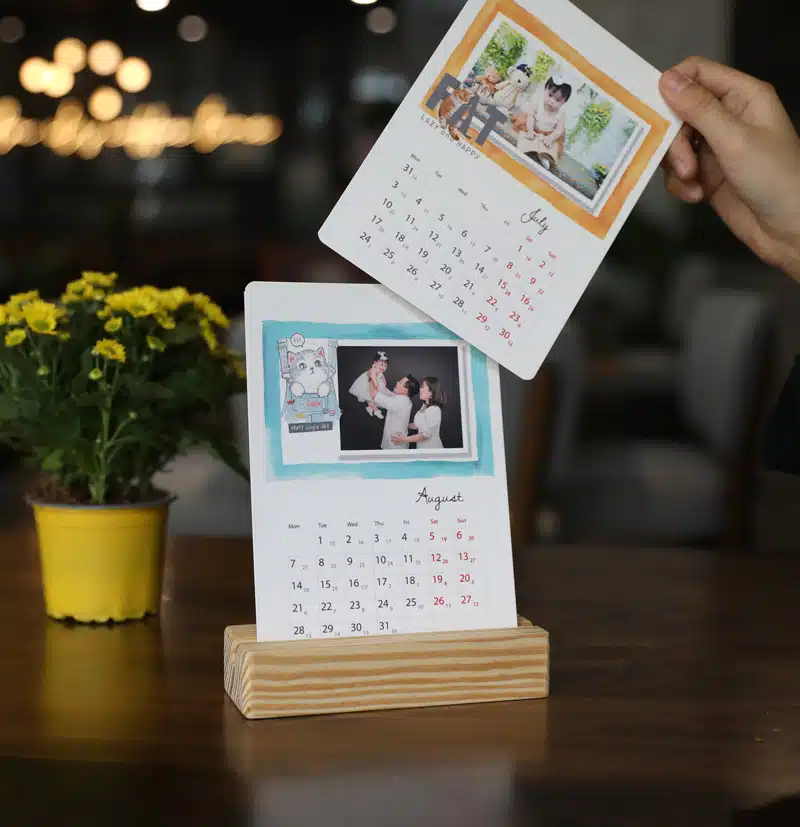
In addition, you can refer to other products at this photo album making software for children such as: personal calendars, individual photo printing, photo gifts, canvas painting printing, wooden photo frame printing, phallic photos, wall photos , card,..
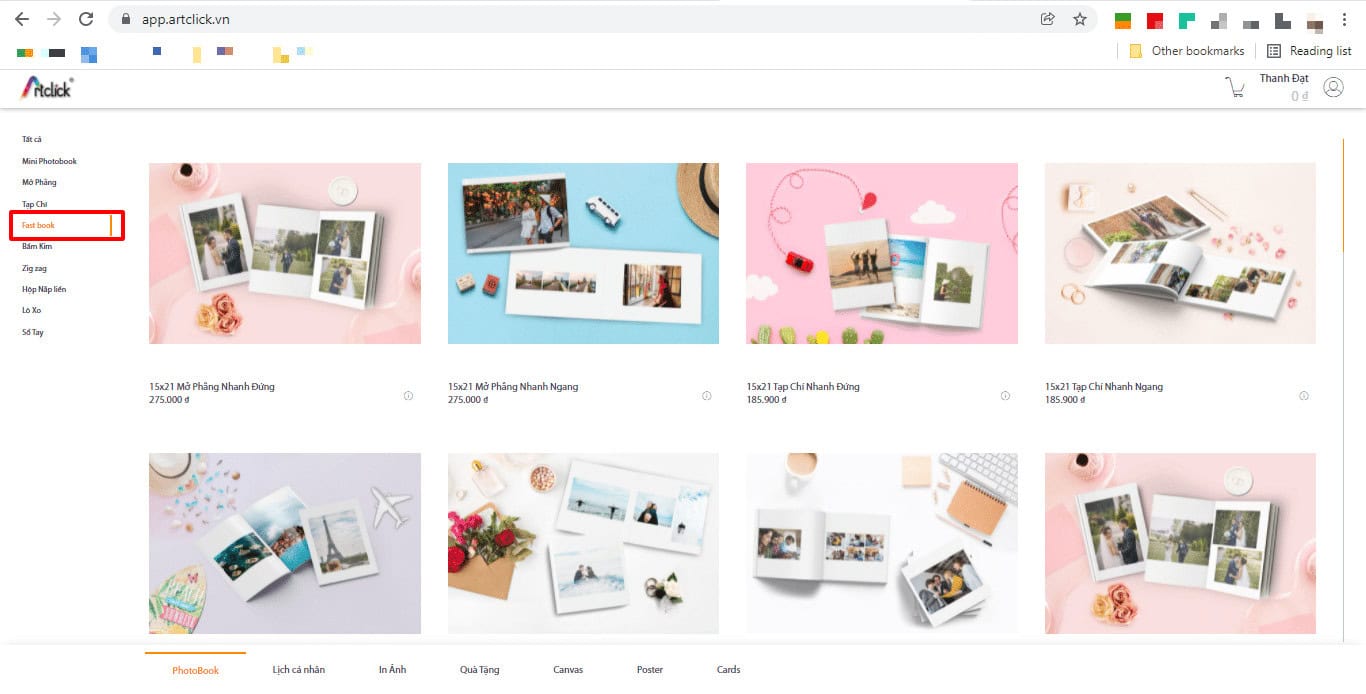
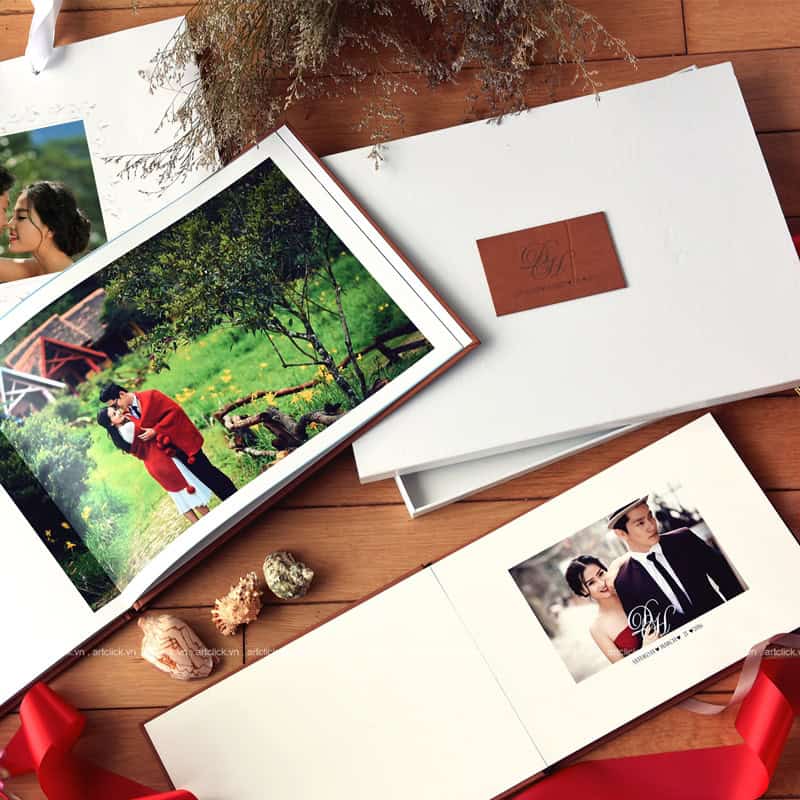
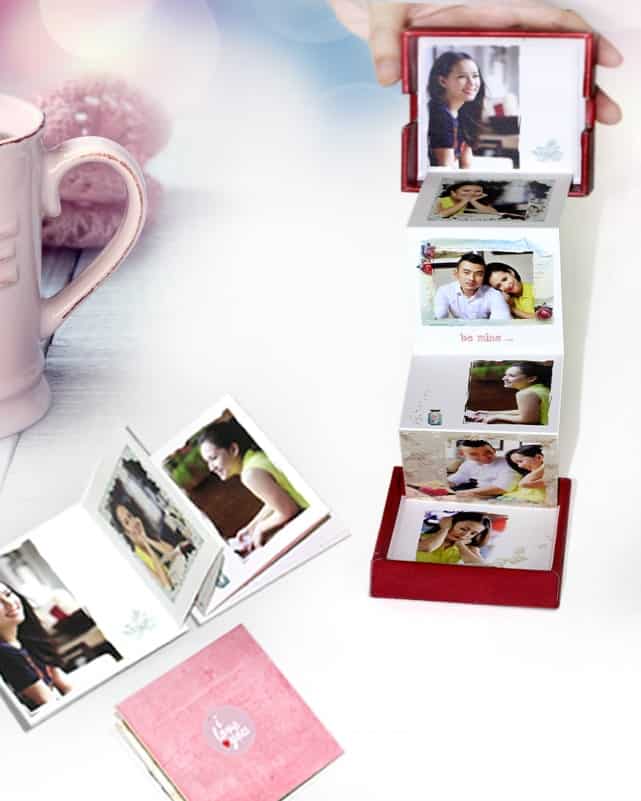
In the next step, you can choose album printing styles such as: flat open, magazine, mini album, etc. and design according to available templates or design manually according to your preferences.
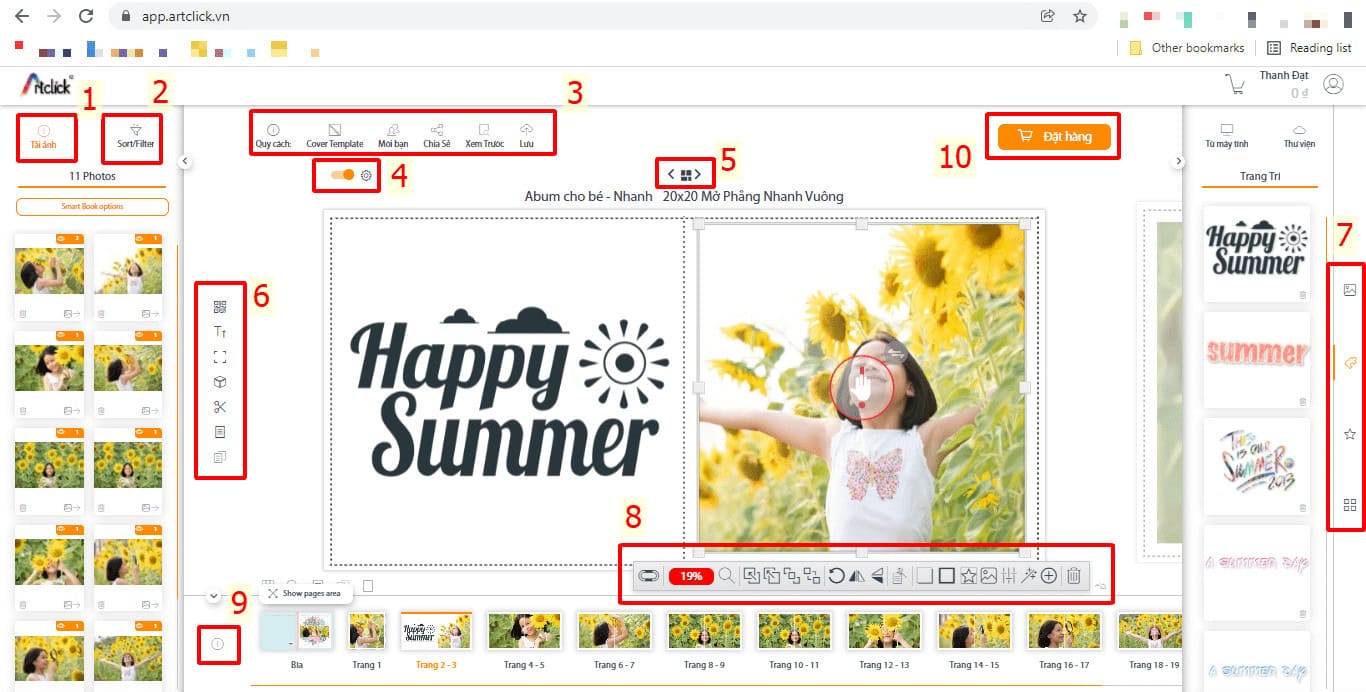
But in this article Artclick introduces you to the "FAST Design" function - automatically laying out pages and layouts for you, you just need to insert images and the software will automatically design the layout for you (instead of having to manually insert each image into the available photo frames). Designing becomes much faster and simpler.
You select "Fastbook" and select the size and type of photobook you want to print on the right side.
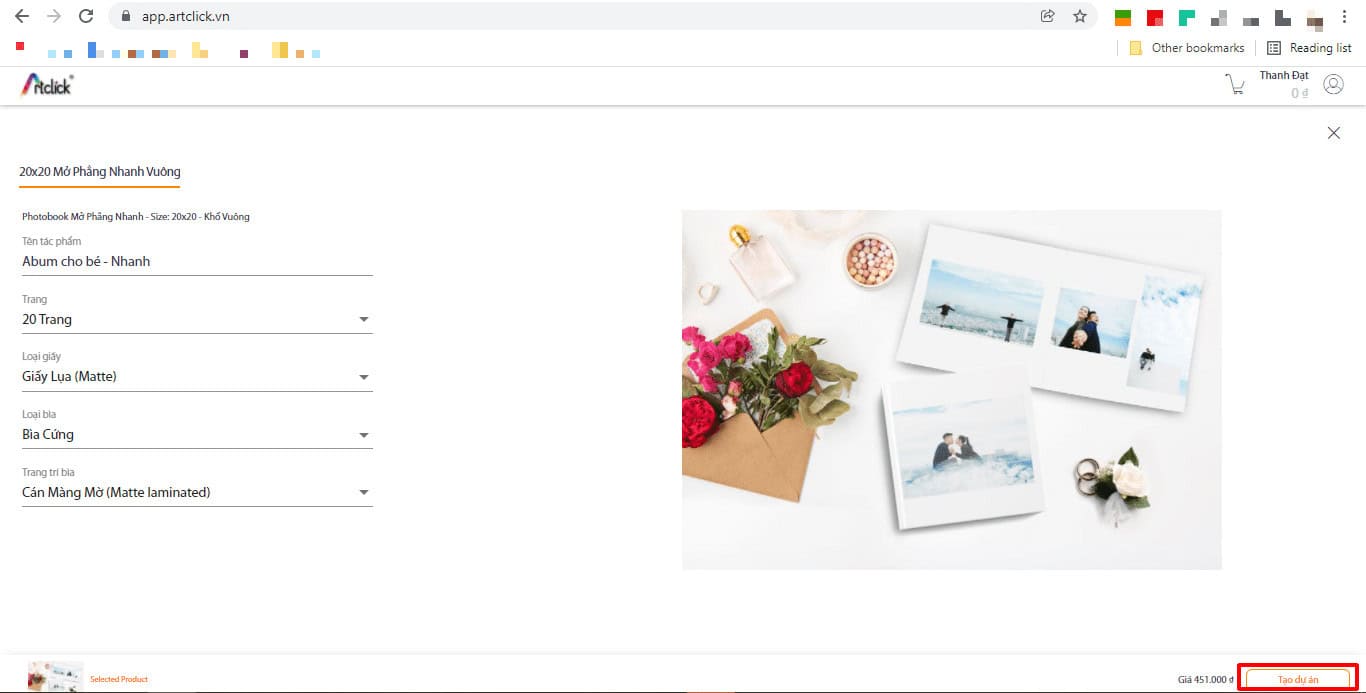
Naming the work - this is just a way for you to distinguish design works from each other, does not affect the printed product.
Adjust printing specifications accordingly such as number of pages, paper type, cover type, cover decoration style. If you still have concerns, you can contact Artclick for advice details.
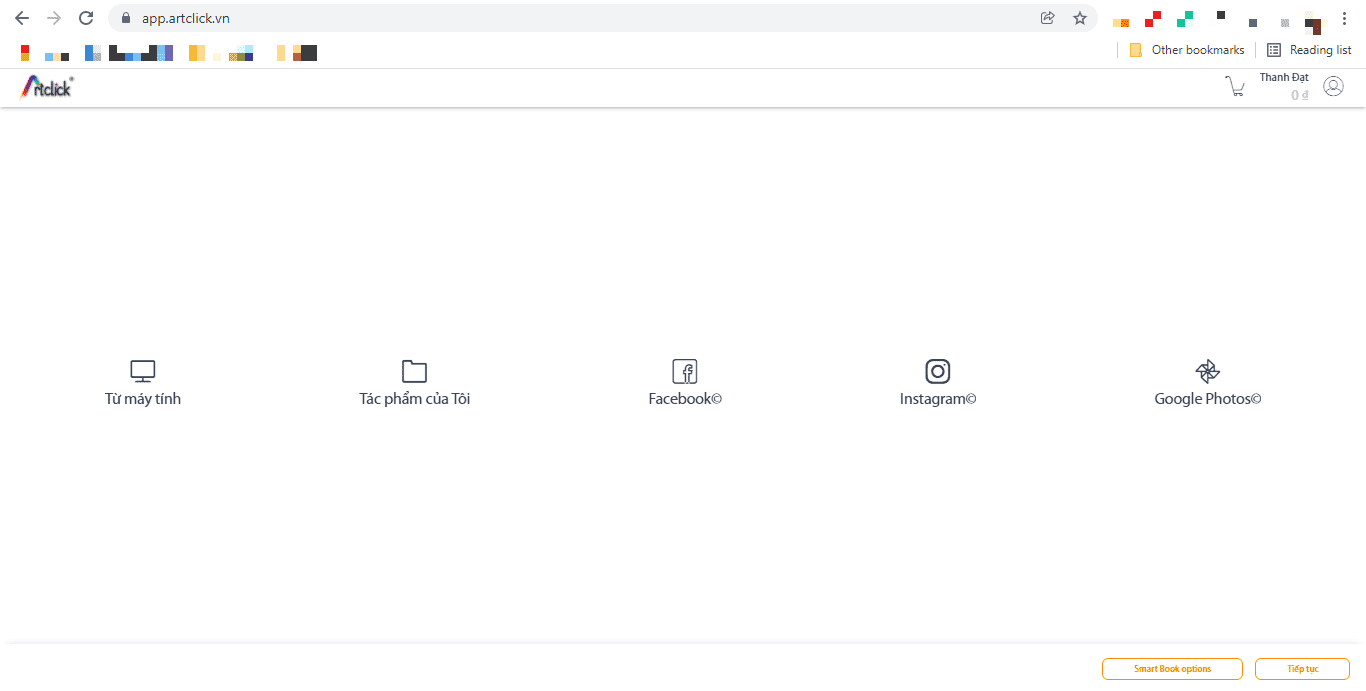
There are many options for downloading photos: from your computer, old works, Facebook, Instagram and Google Photo.
Next, you can still upload photos if you want to add more photos at this step.
Smart Book options: allows you to customize image layout options for pages, such as: distance between images, number of images in one page, image layout, etc.
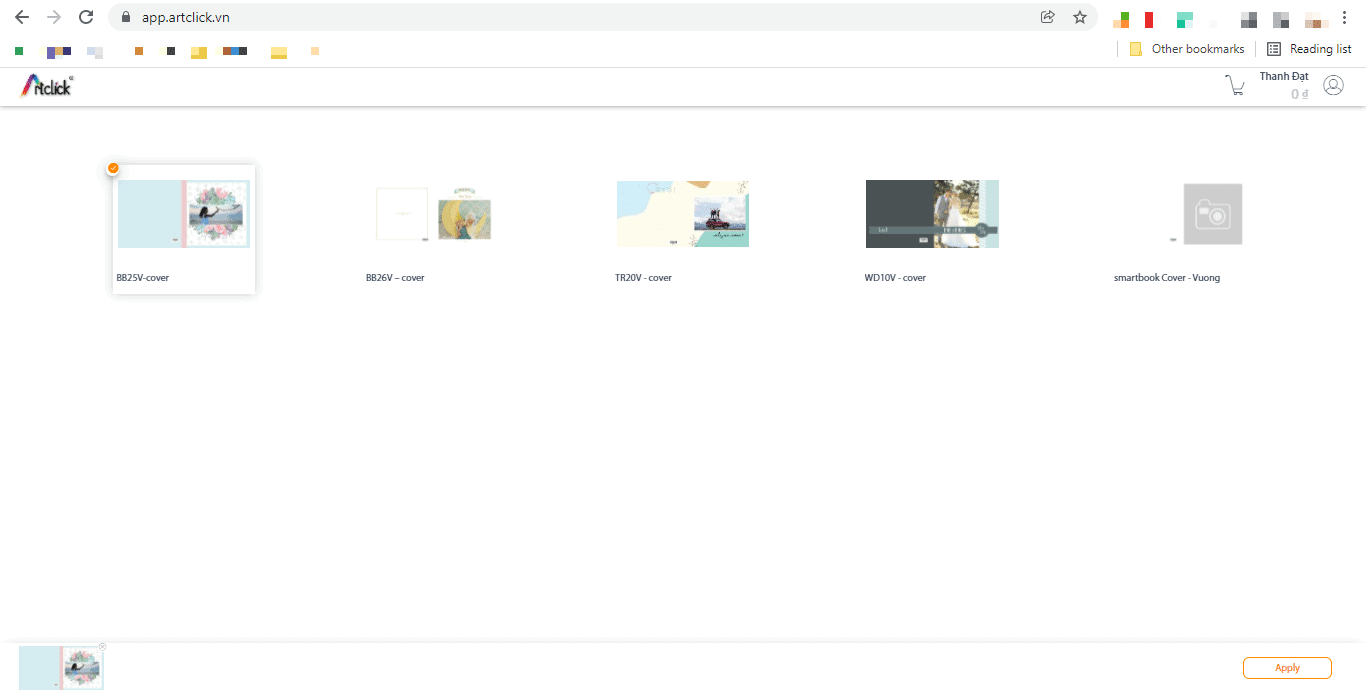
Choose a cover model you like, or "smartbook cover - Square" if you want to design your own cover image.
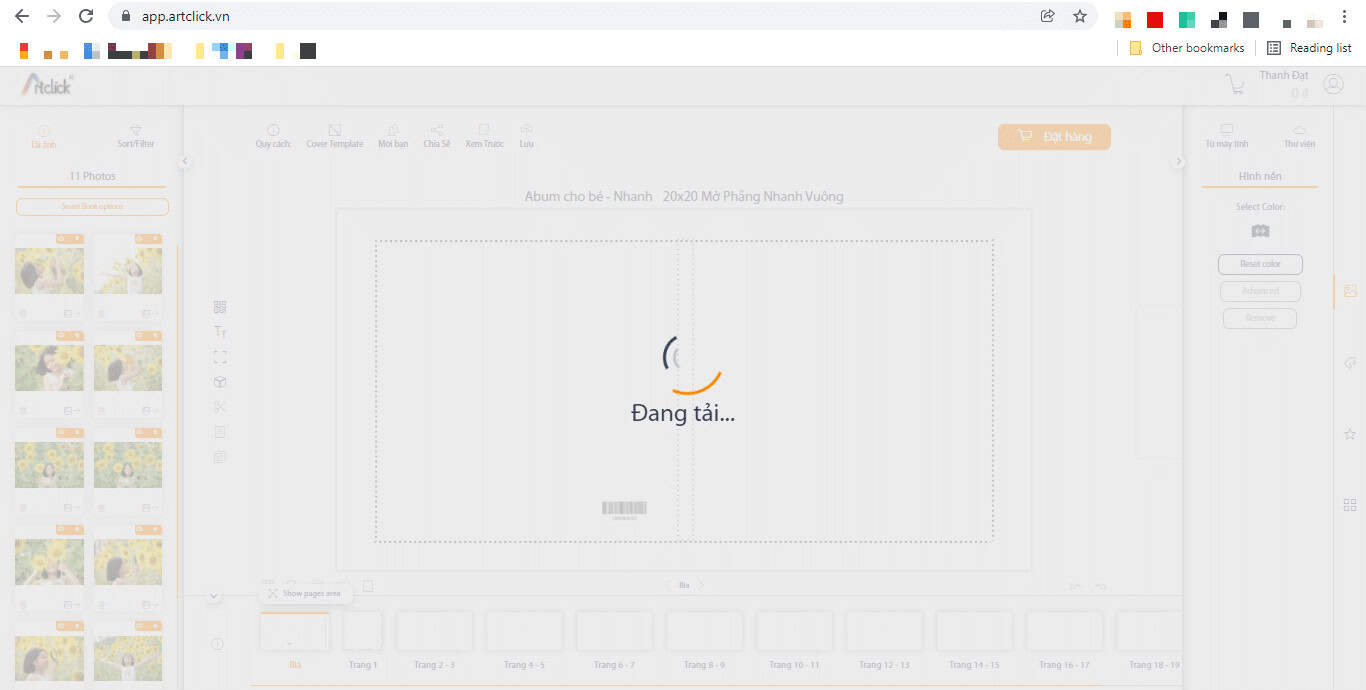
After choosing a cover template, you only need to wait about 30 seconds - 1 minute for the software to automatically lay out the page and layout for you.
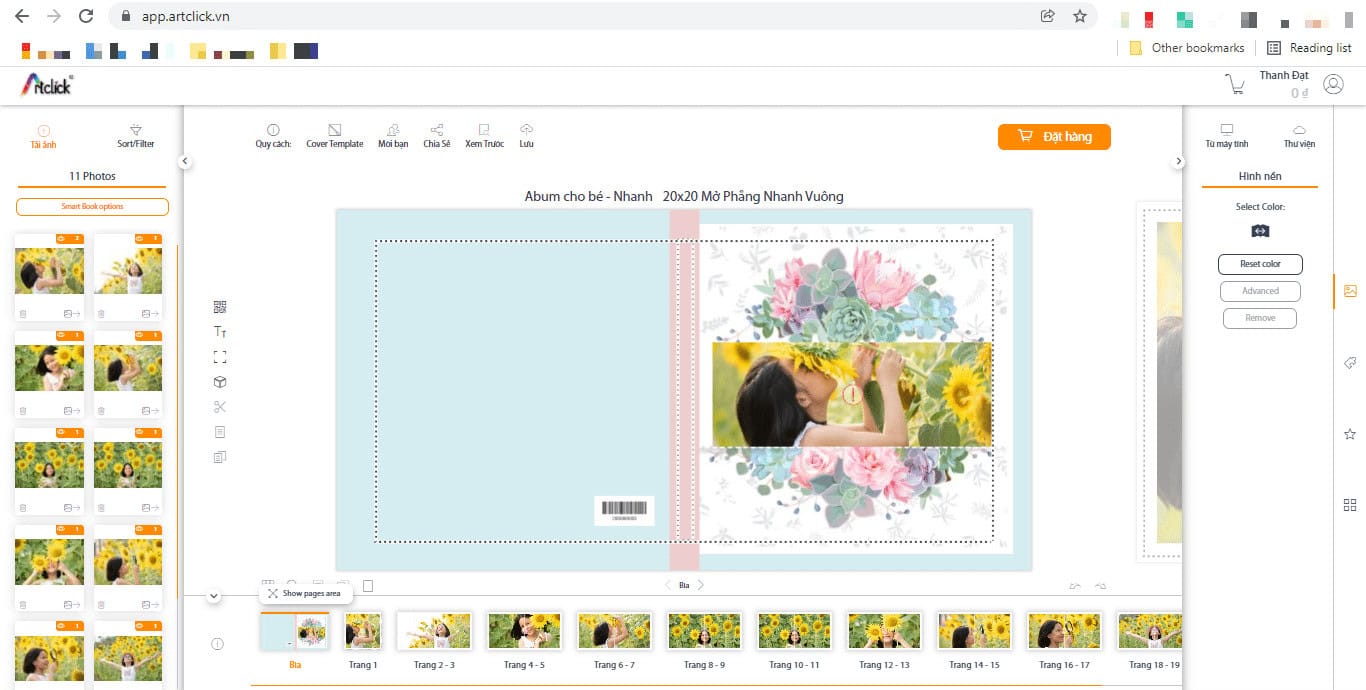
Edit the cover to your liking.
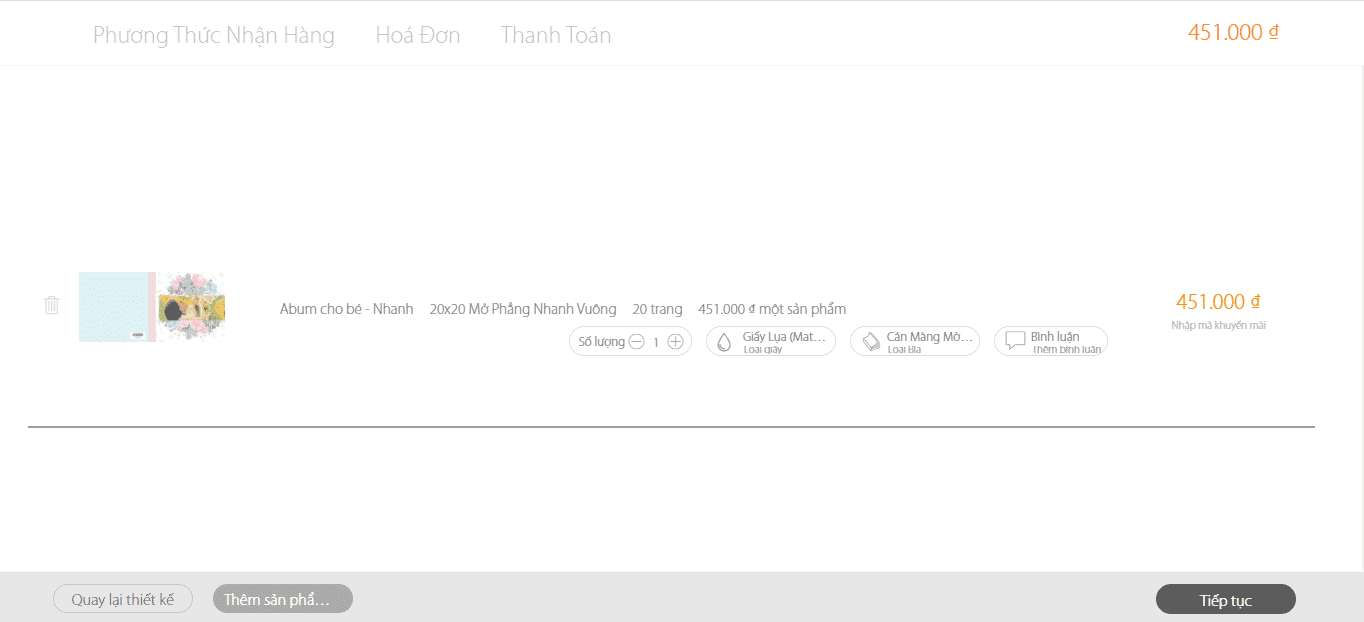
At this step you can adjust the paper type, cover type, number of albums, printing notes and add promotional codes (if any).
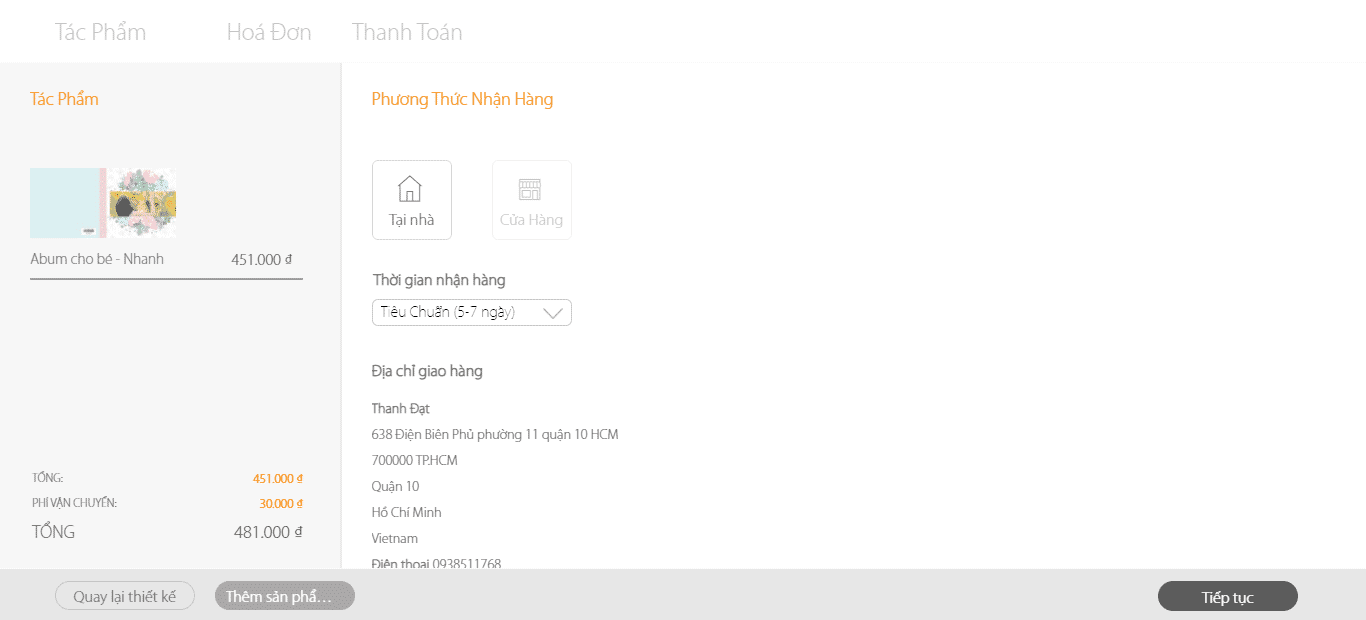
Choose delivery or pick up in store.
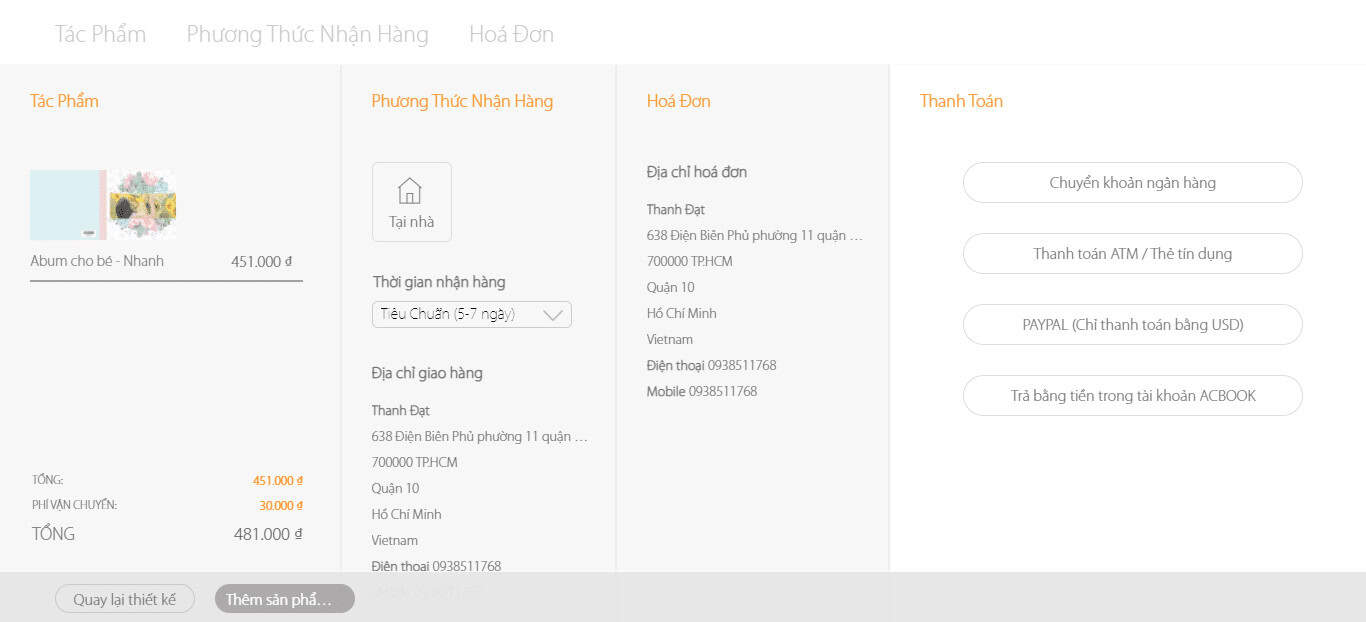
Select payment method.
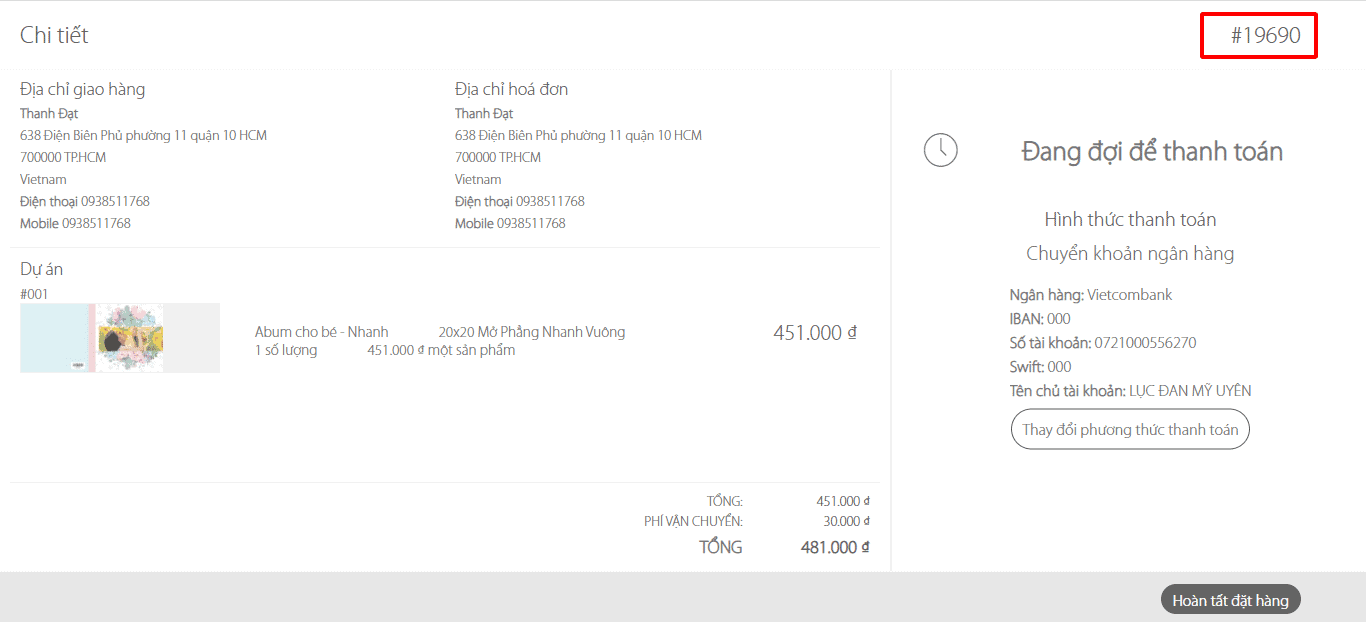
In the right corner of the screen is the order code: #19690
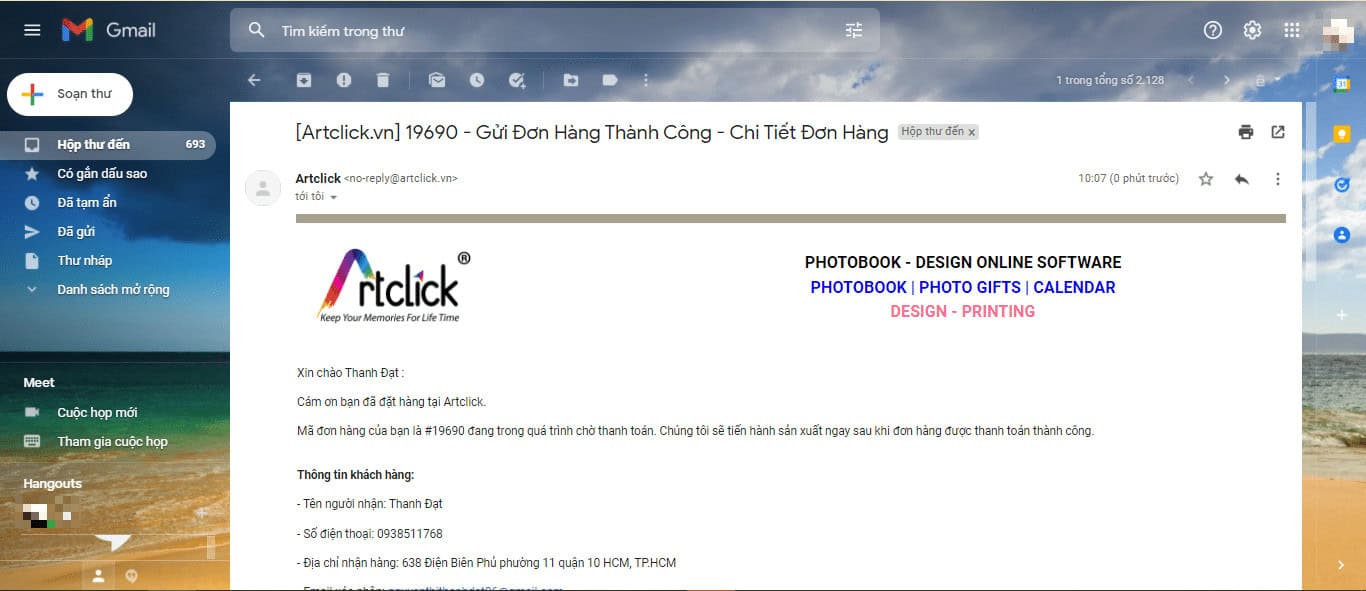
After successfully placing an order, you will have an email automatically sent to your email. After payment, please notify Artclick of your order code so that Artclick can proceed with printing and delivery to you.
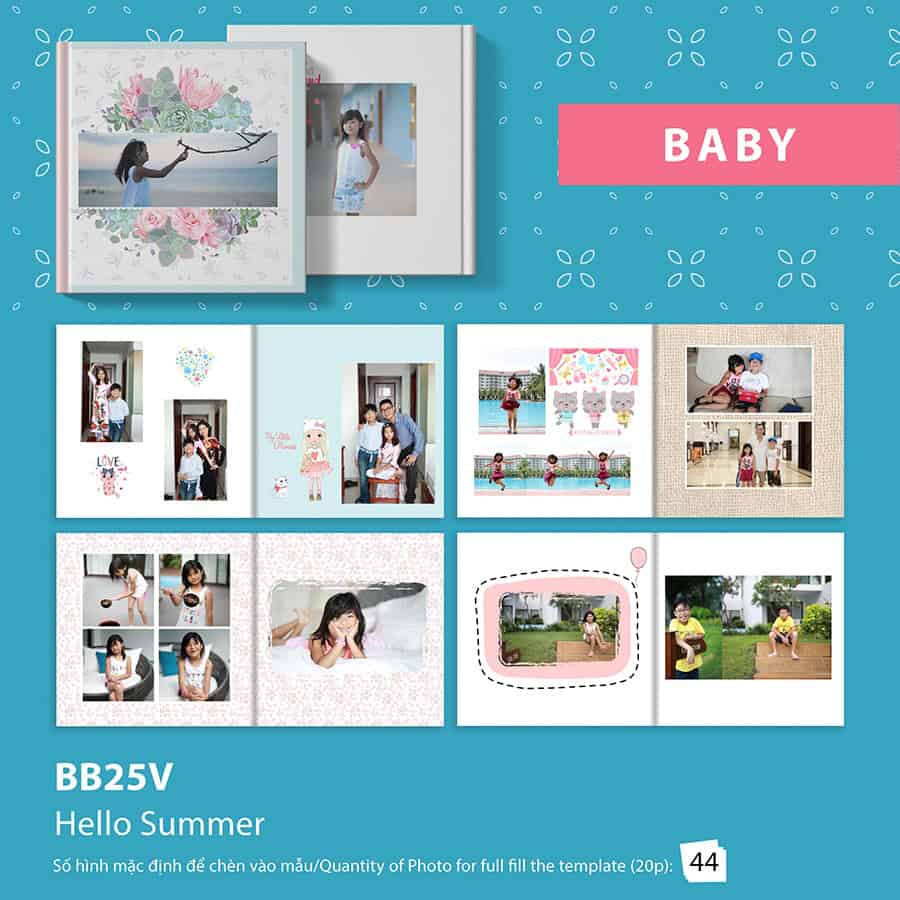
BB25V – See template details
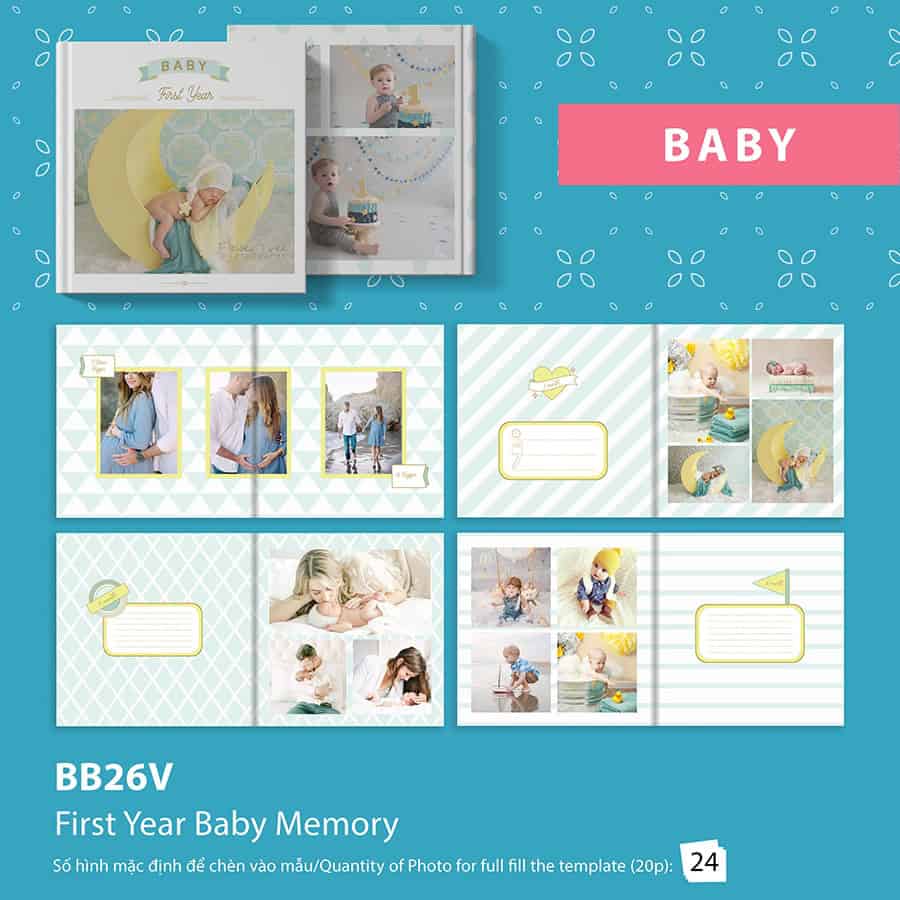
BB26V – See template details
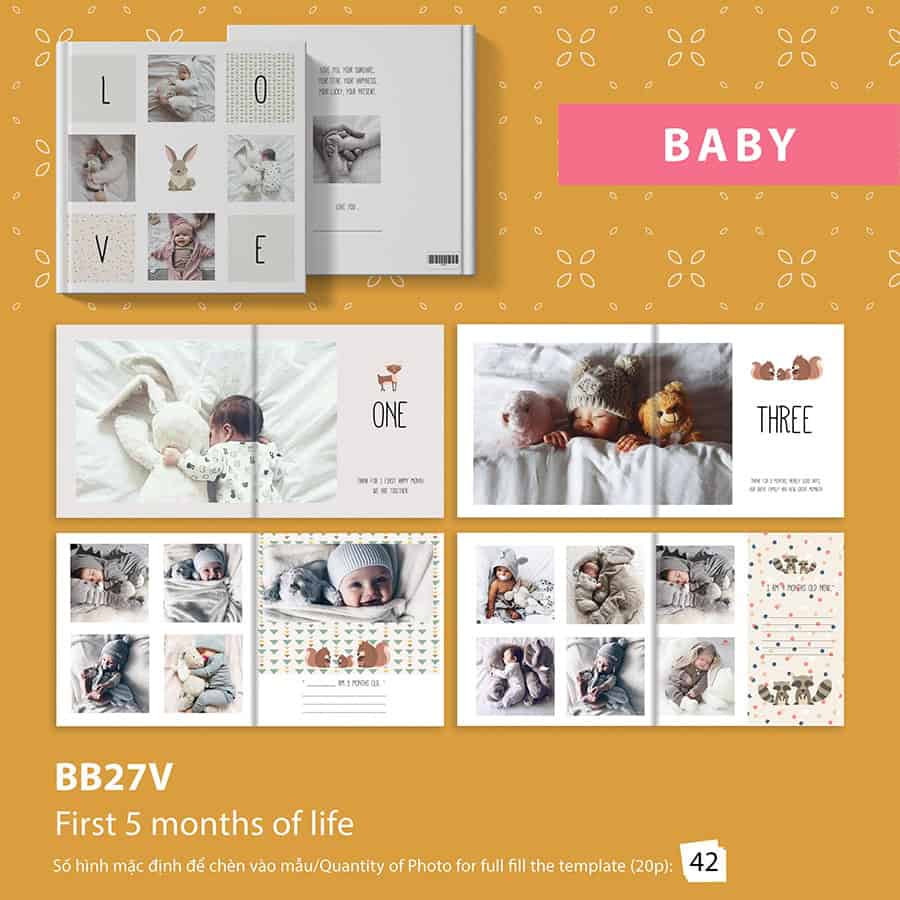
BB27V – See template details
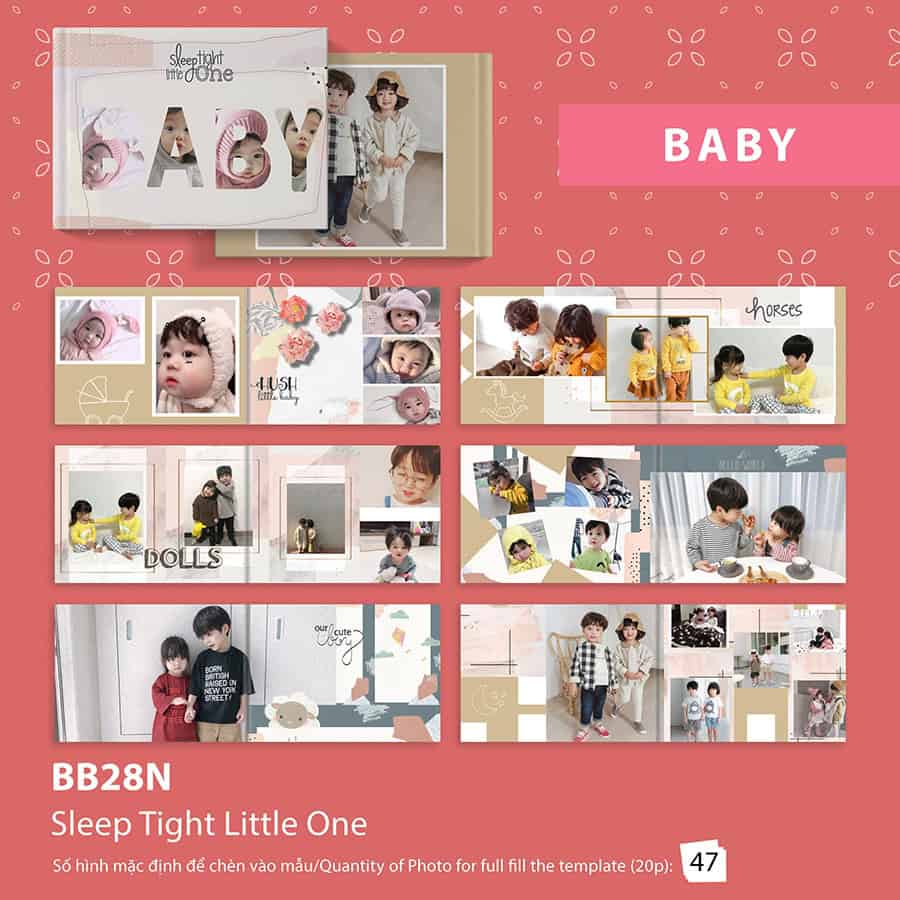
BB28N – See template details
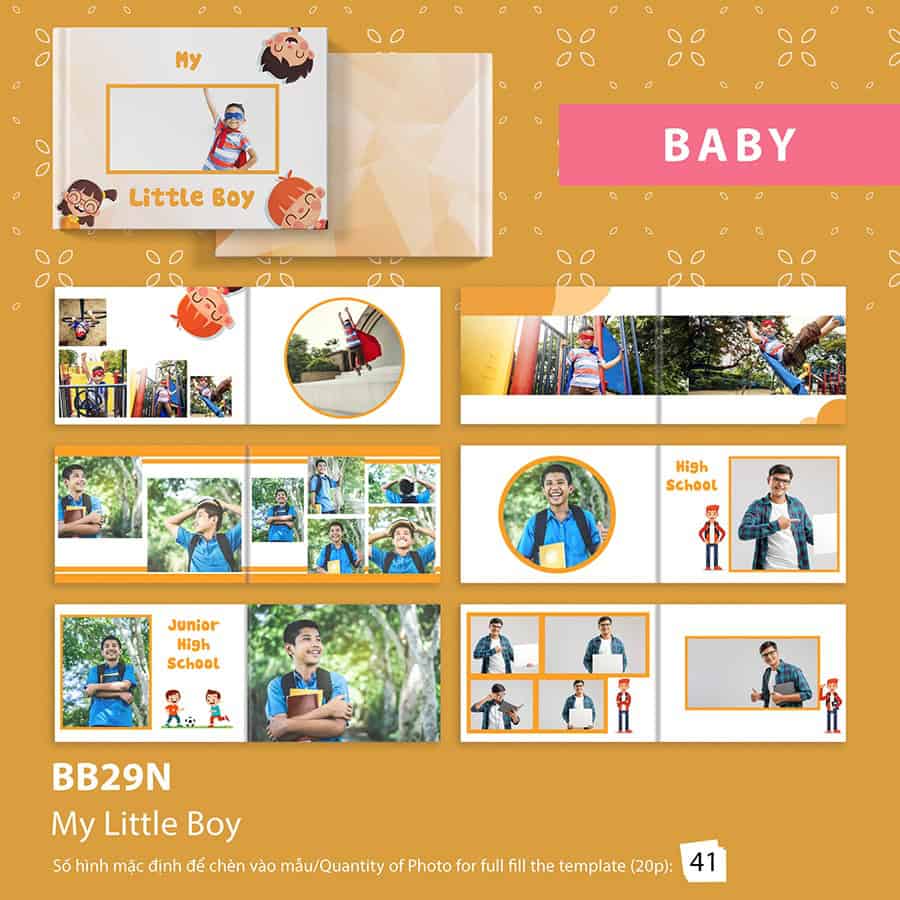
BB29N – See template details
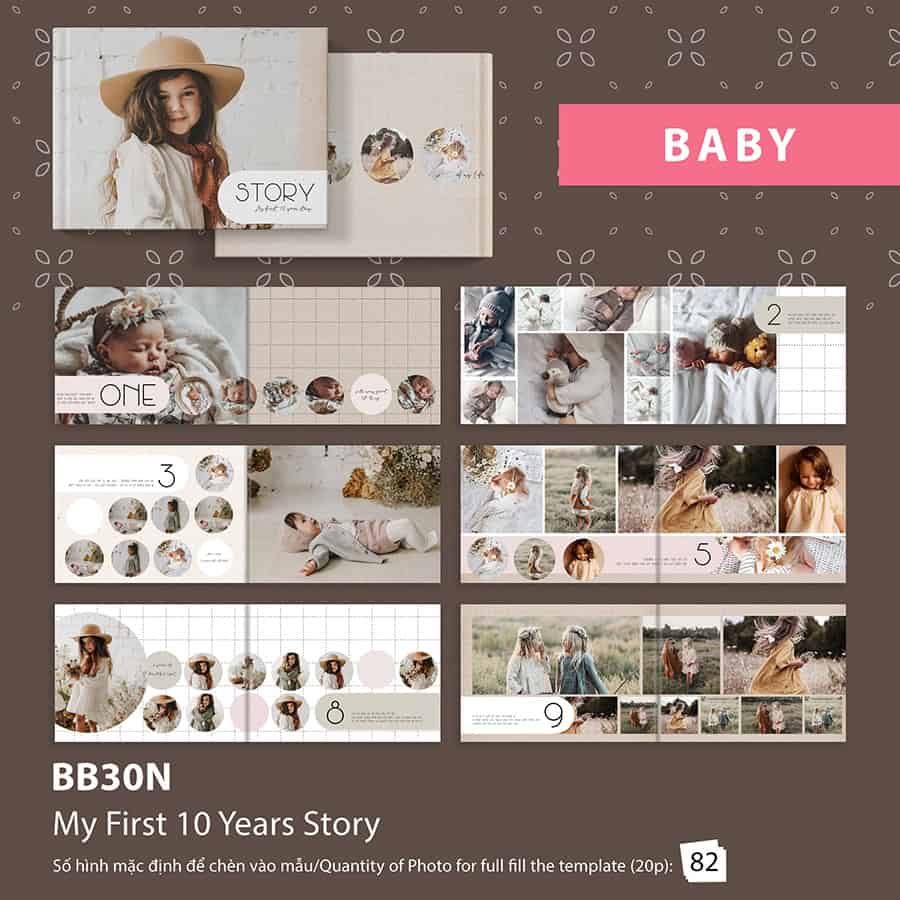
BB30N – See template details
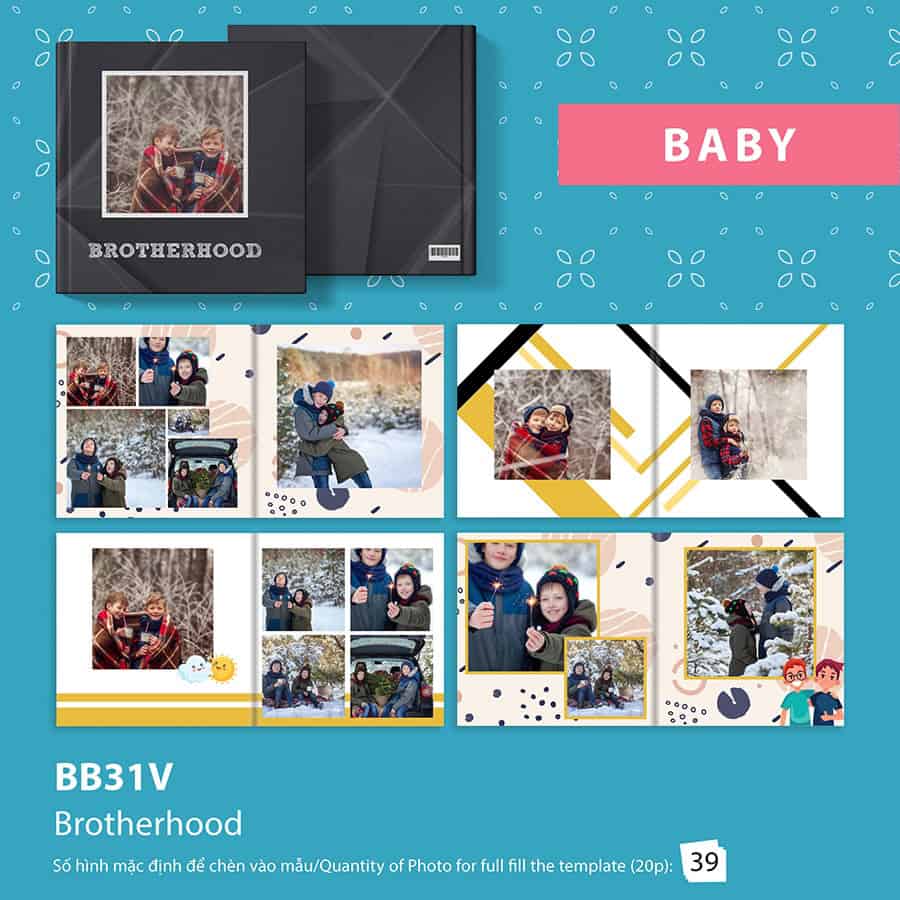
BB31V – See template details
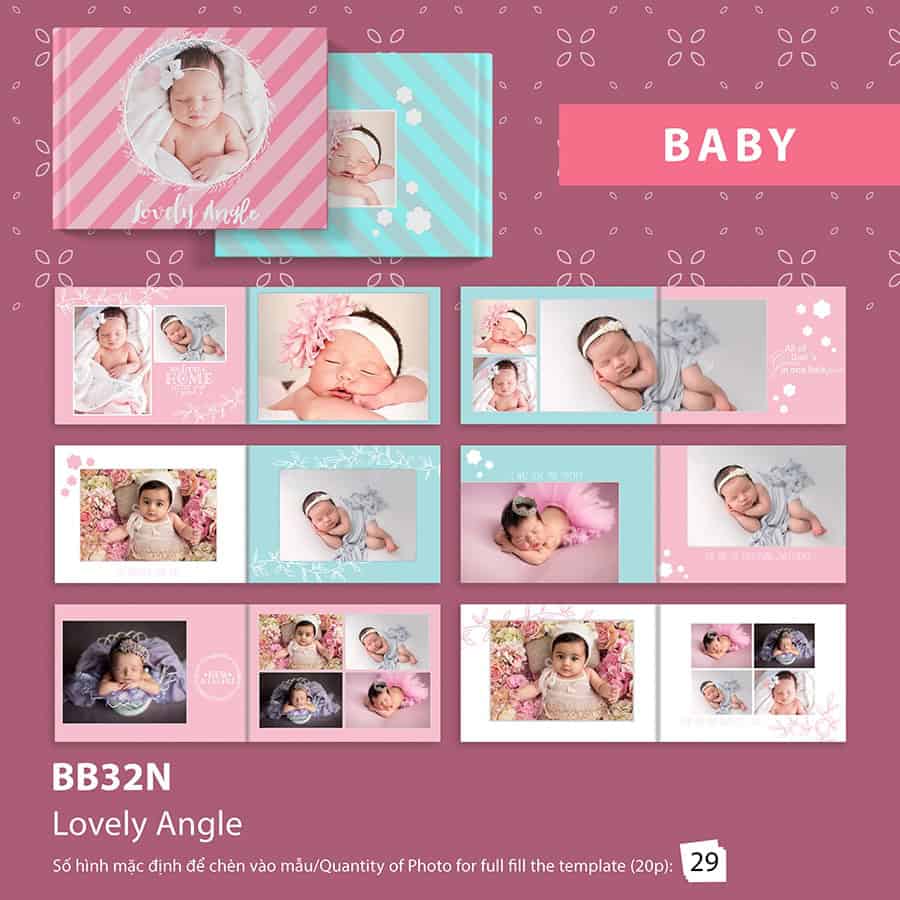
BB32N – See template details
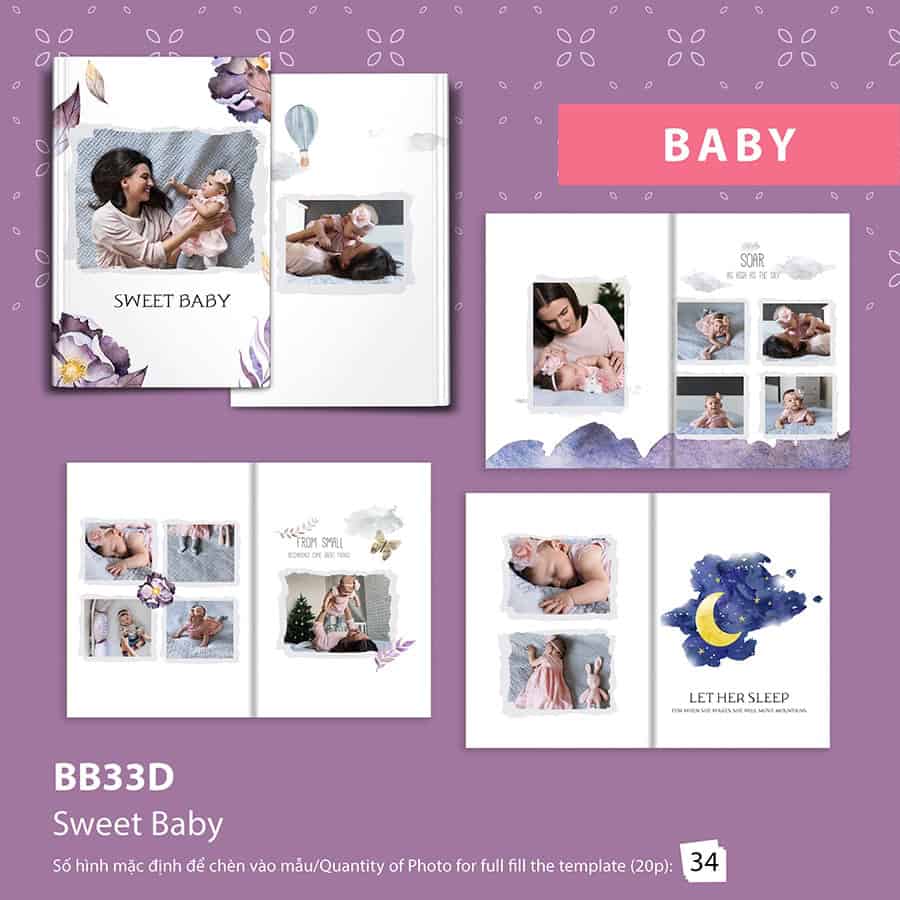
BB33D – See template details
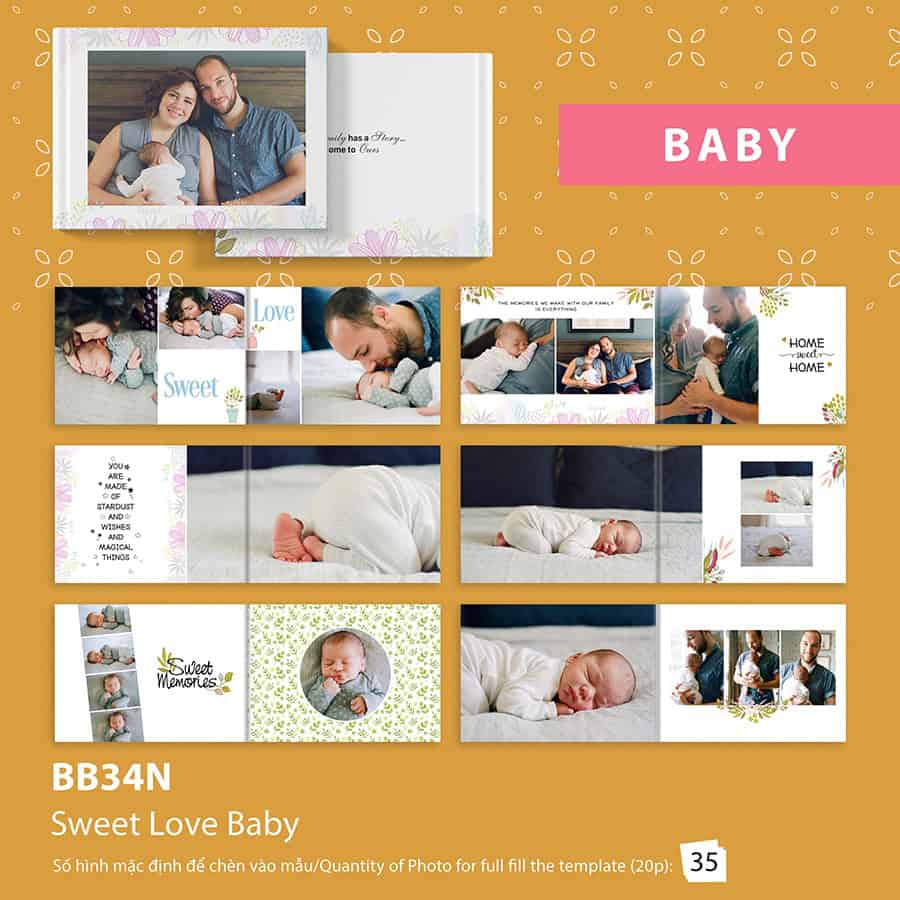
BB34N – See template details
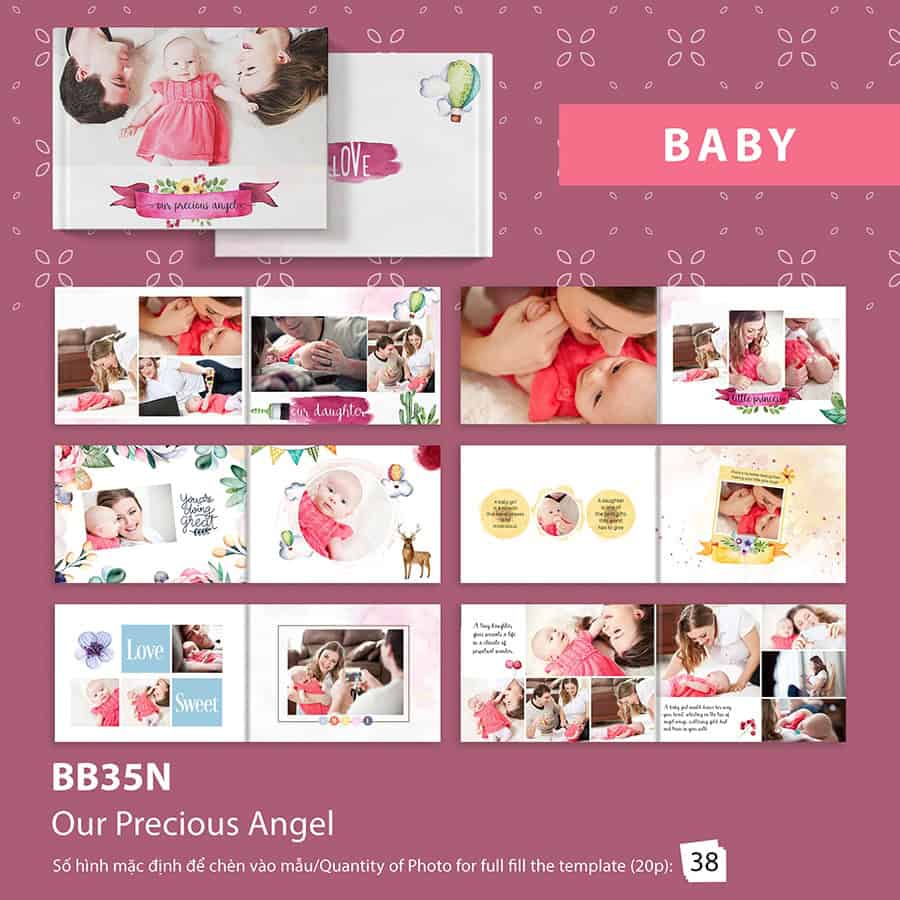
BB35N – See template details
Chào đón một thành viên mới là cột mốc thiêng liêng và hạnh phúc nhất của mỗi gia đình. Những ngày đầu đời, bé yêu thay đổi nhanh chóng qua
Sự hiện diện của một thiên thần nhỏ trong gia đình là món quà vô giá mà cuộc sống ban tặng. Những ngày đầu tiên con chào đời, mỗi hơi
Giây phút tiếng khóc chào đời của con vang lên cũng là lúc cuộc đời của cha mẹ bước sang một trang mới đầy màu sắc và cảm xúc. Những
Làm mẹ là một thiên chức thiêng liêng và hành trình 9 tháng 10 ngày mang nặng đẻ đau chính là quãng thời gian chứa đựng nhiều cung bậc cảm
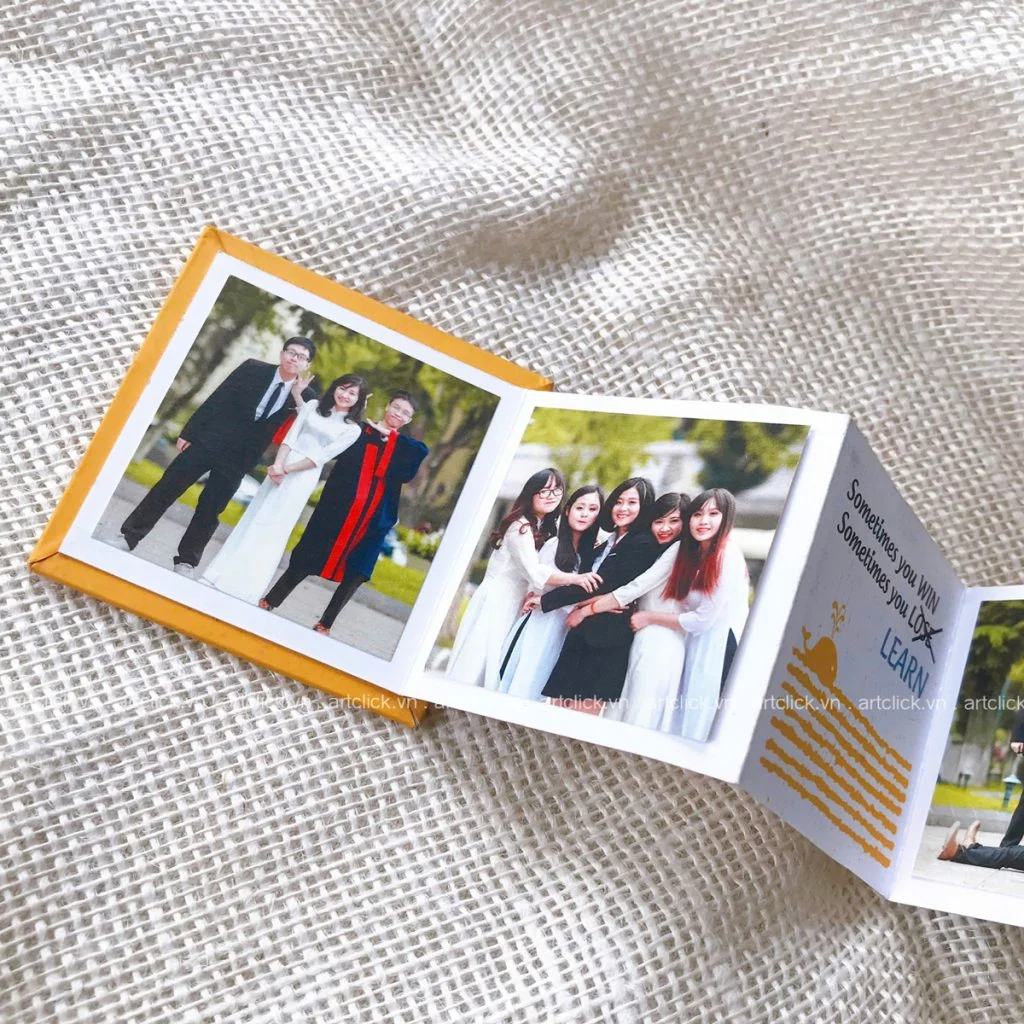
Tuổi thanh xuân giống như một cơn mưa rào, dù có từng bị cảm lạnh bạn vẫn muốn đắm mình trong đó một lần nữa. Những ngày cuối cấp, khi
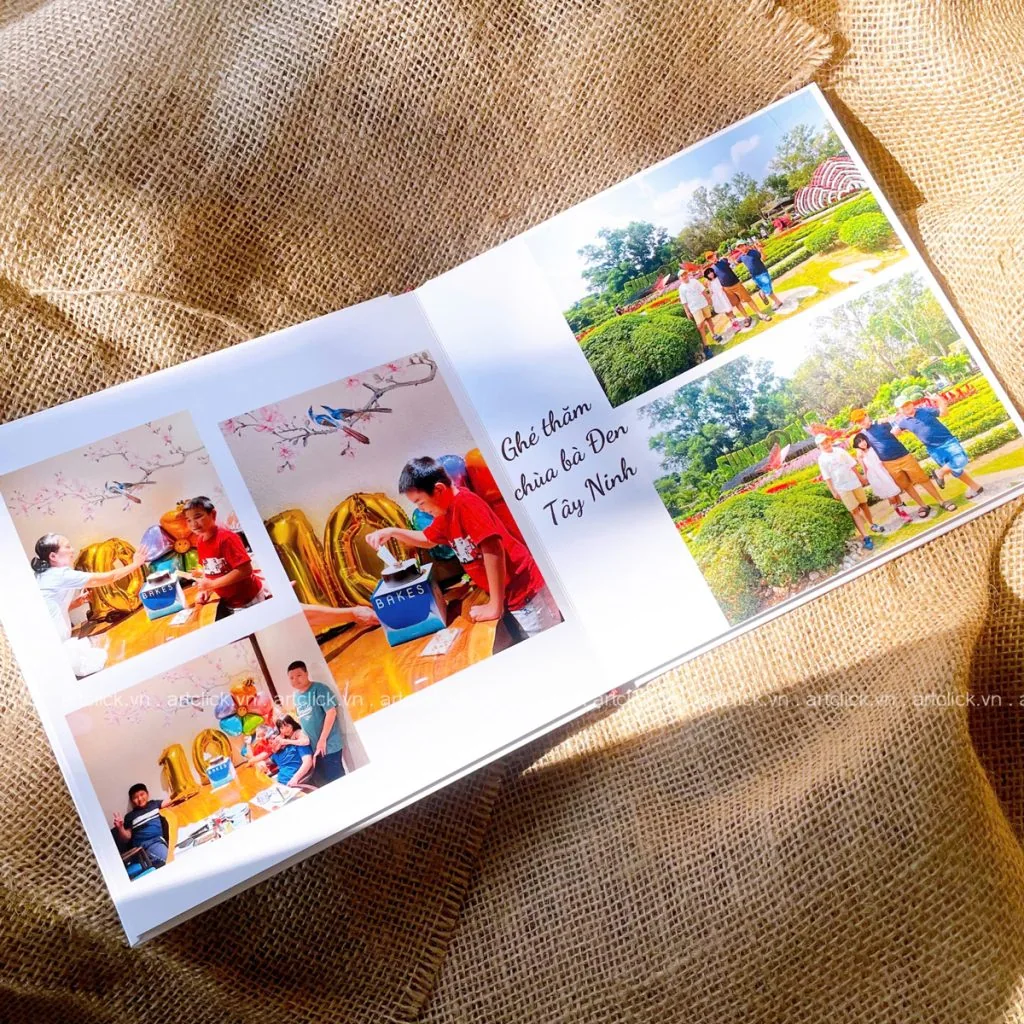
Gia đình là tổ ấm, là nơi bắt đầu và cũng là nơi trở về của mỗi người. Trong nhịp sống hiện đại hối hả, những chuyến đi chơi xa
Những chuyến đi không chỉ là dịp để chúng ta khám phá những vùng đất mới, mà còn là khoảng thời gian quý giá để tái tạo năng lượng và
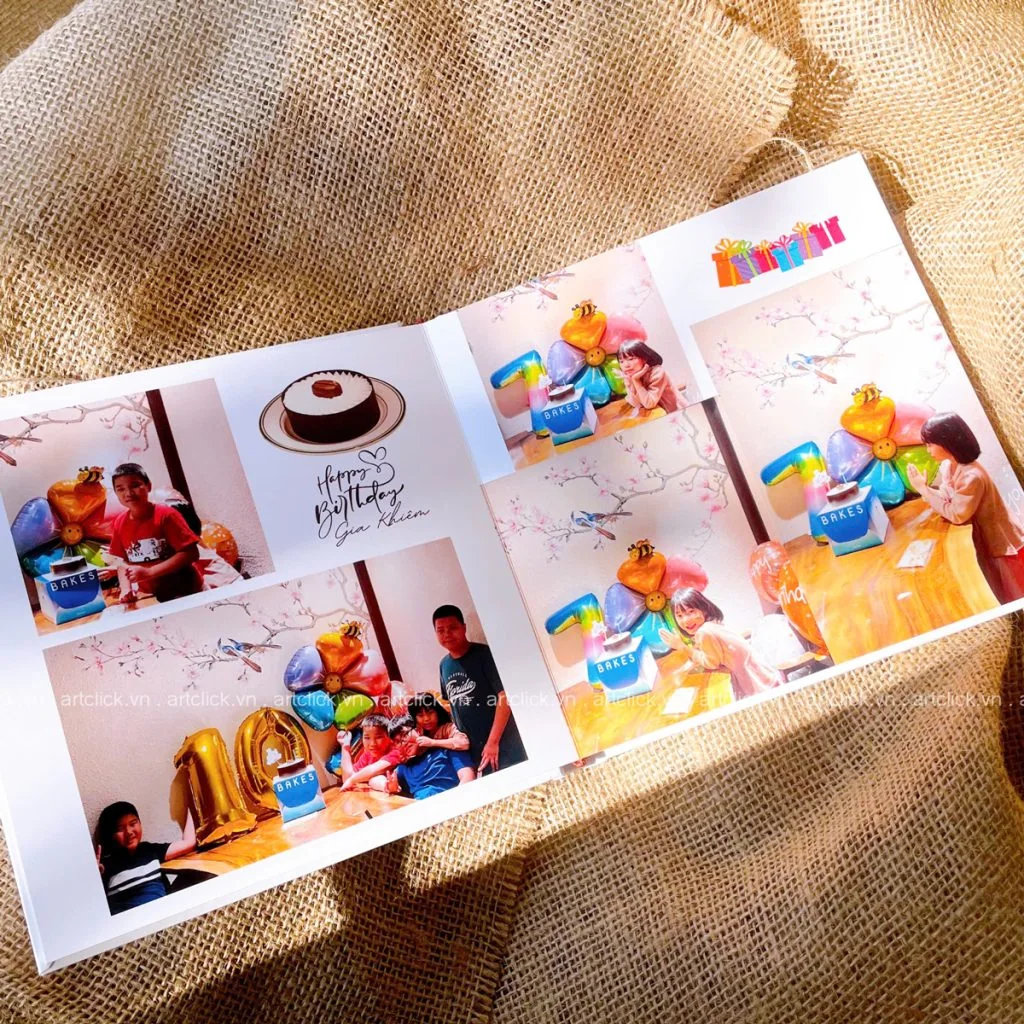
Mỗi năm, khi ngày sinh nhật của thiên thần nhỏ đến gần, lòng cha mẹ lại rộn ràng những kế hoạch. Ngoài việc chuẩn bị bánh kem, quà tặng và
Sinh nhật là cột mốc đánh dấu sự khôn lớn, là lúc cha mẹ nhìn lại hành trình một năm đầy ắp những kỷ niệm của thiên thần nhỏ. Trong