


Kinh nghiệm chọn ảnh và dàn trang album new born chuẩn đẹp
Sự hiện diện của một thiên thần nhỏ trong gia đình là món quà vô giá mà cuộc sống ban tặng. Những ngày đầu tiên con chào đời, mỗi hơi


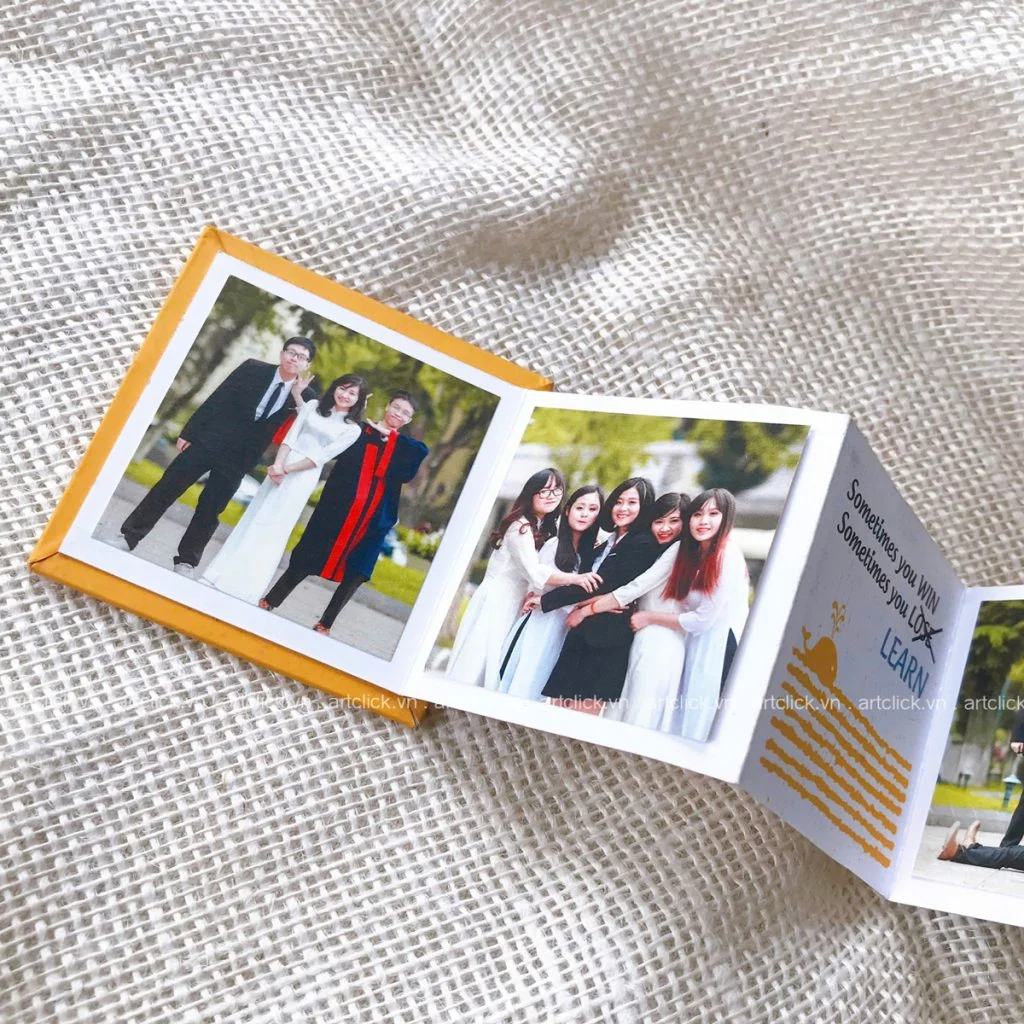
After a long time of being close and close together, you want to create images for your student photobook that captures the truest and most beautiful moments and emotions of that time. ghost” with dear friends.
However, you are wondering how to design a beautiful and meaningful guestbook? With just the following 7 simple steps, you can completely create an images for your student photobook for your student's scrapbook.
You need to determine who this beautiful and high-quality school photobook: is intended for, only you or a group of close friends can admire it or show it off to friends, teachers and even beloved parents to have the right choice of photos. . If given to adults, personal or too intimate photos should be carefully considered when used.

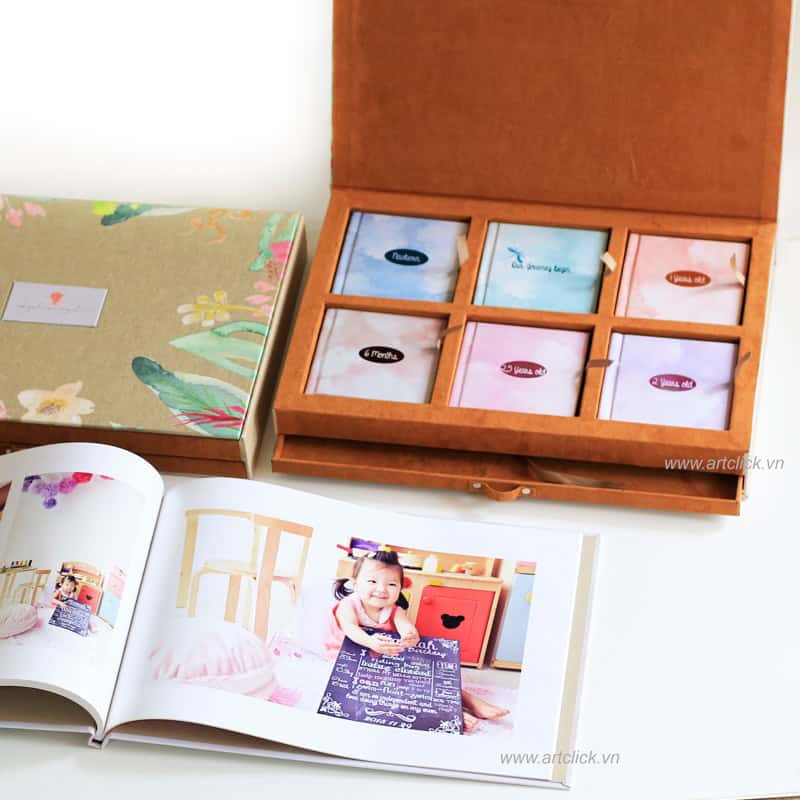
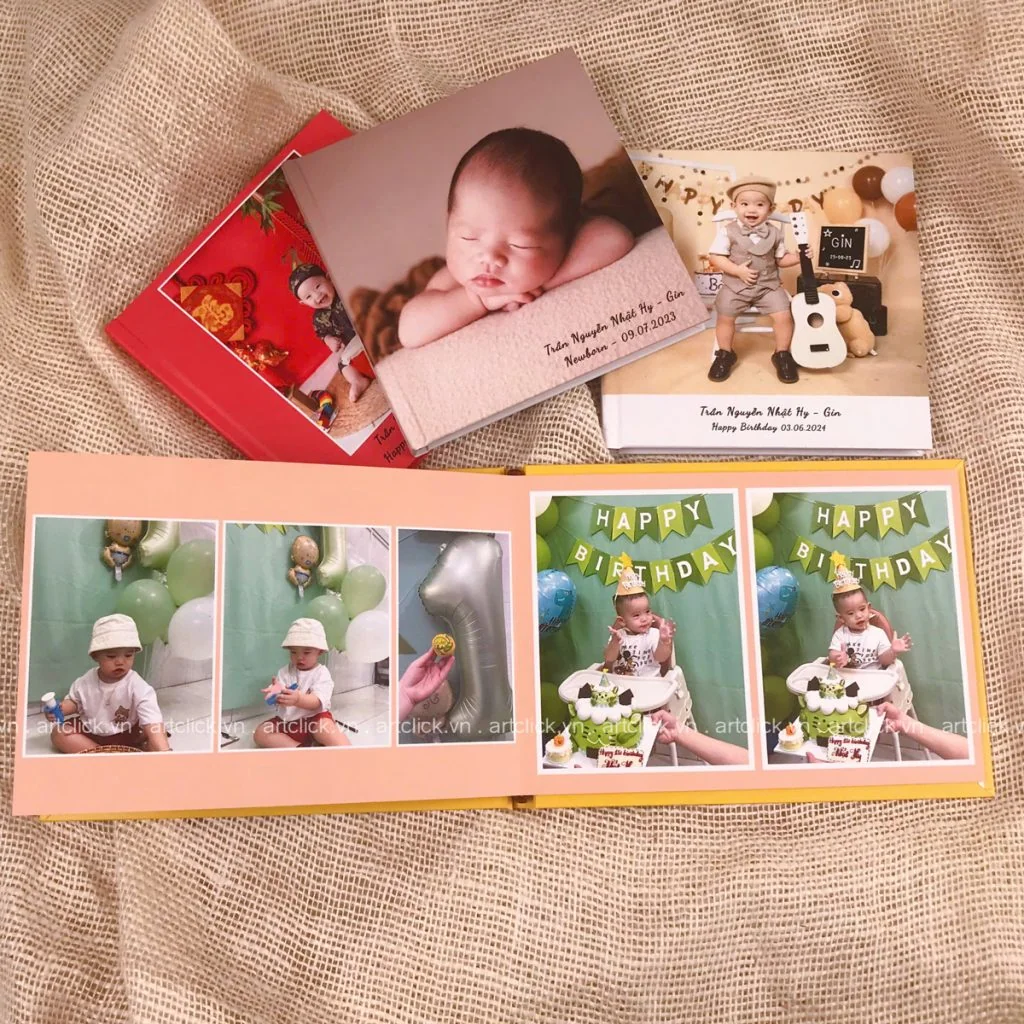
This scrapbook will only have images, or there will be blank pages to save the handwriting and wishes of friends. The images will be arranged in chronological order, telling a story or simply telling a story. Insert pictures of each member in it. Depending on the content, you can decide the total number of pages of the photobook as well as the type of paper to use - simple laminated photo paper or paper that can be written on. .
Equally important, what software will you use to design the guestbook?
If you are a professional and knowledgeable person, you can use it Photoshop (Ps), Adobe Illustrator (Ai) or InDesign (Id),... to design yourself.

If you still don't know anything about specialized design software, you can still create your own impressive photobook with ACBook online photobook scrapbooking software ACBook - you don't need to bother downloading the software to your computer. that can be designed online and at any time, on any computer, just need to have an internet connection, log in to your account and continue the unfinished design.

The special thing about this online photobook scrapbooking software is that a group of close friends can edit a work together on many different accounts with the work sharing feature, no longer having to argue about why the photo is taken. I'm less than your picture, the most important thing is that we have more time together, more connected, and create a memorable work together, right
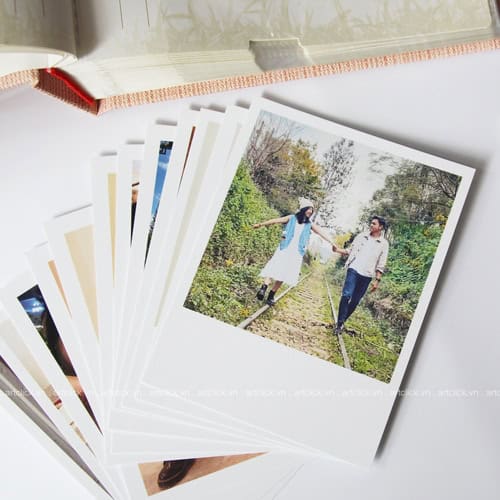
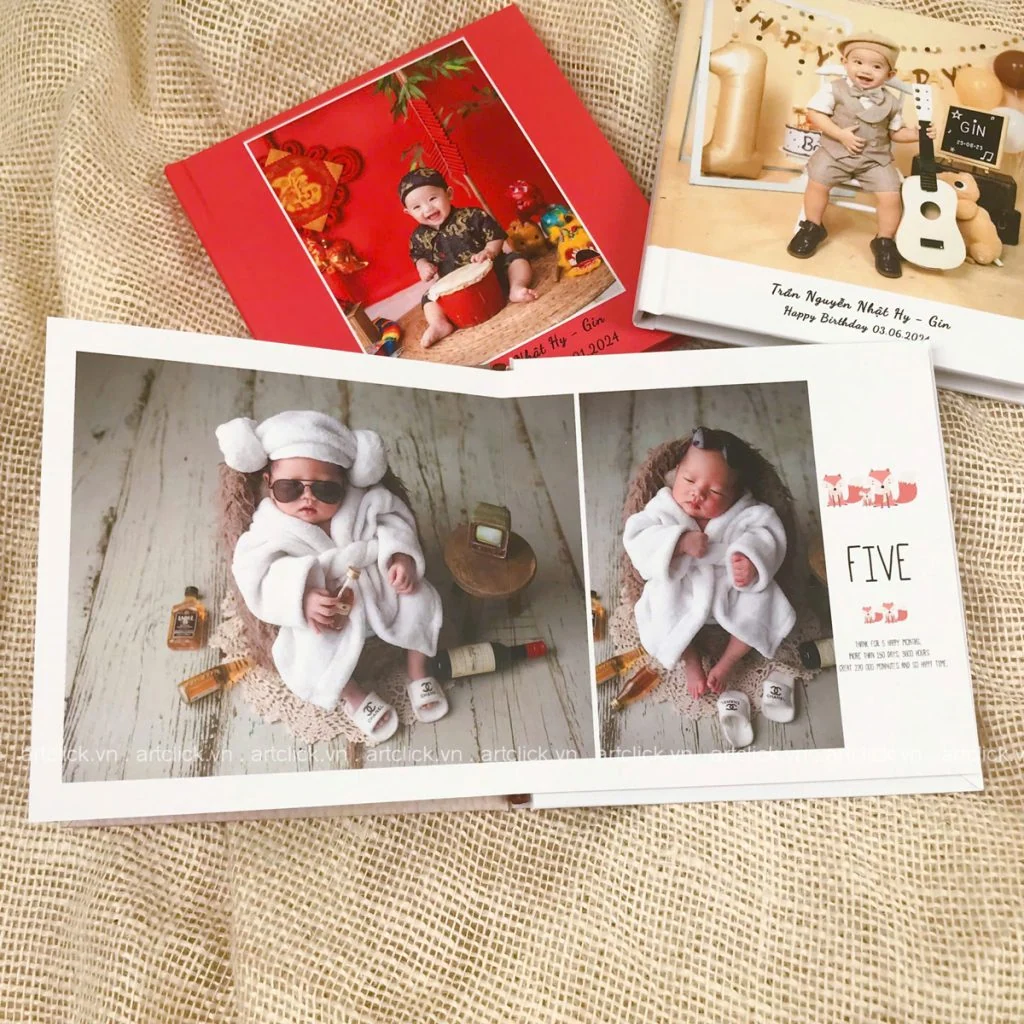
Choosing images also needs to be very careful, usually you will choose the most beautiful, highest quality images, but the images also need to be related to the story you want to tell. Additional photos make the scrapbook photobook clear and not too confusing. Priority should be given to clear, high-quality images, photos associated with memories, and group photos over personalized photos.

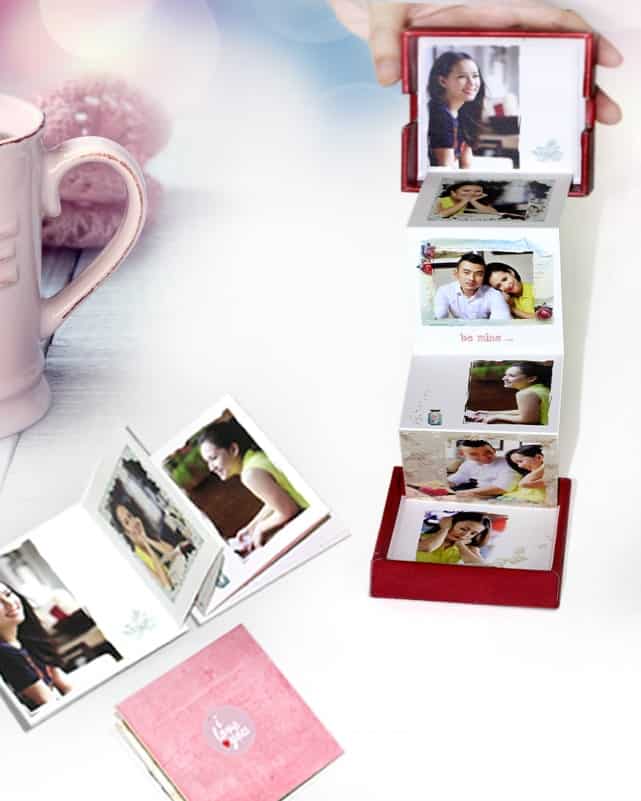
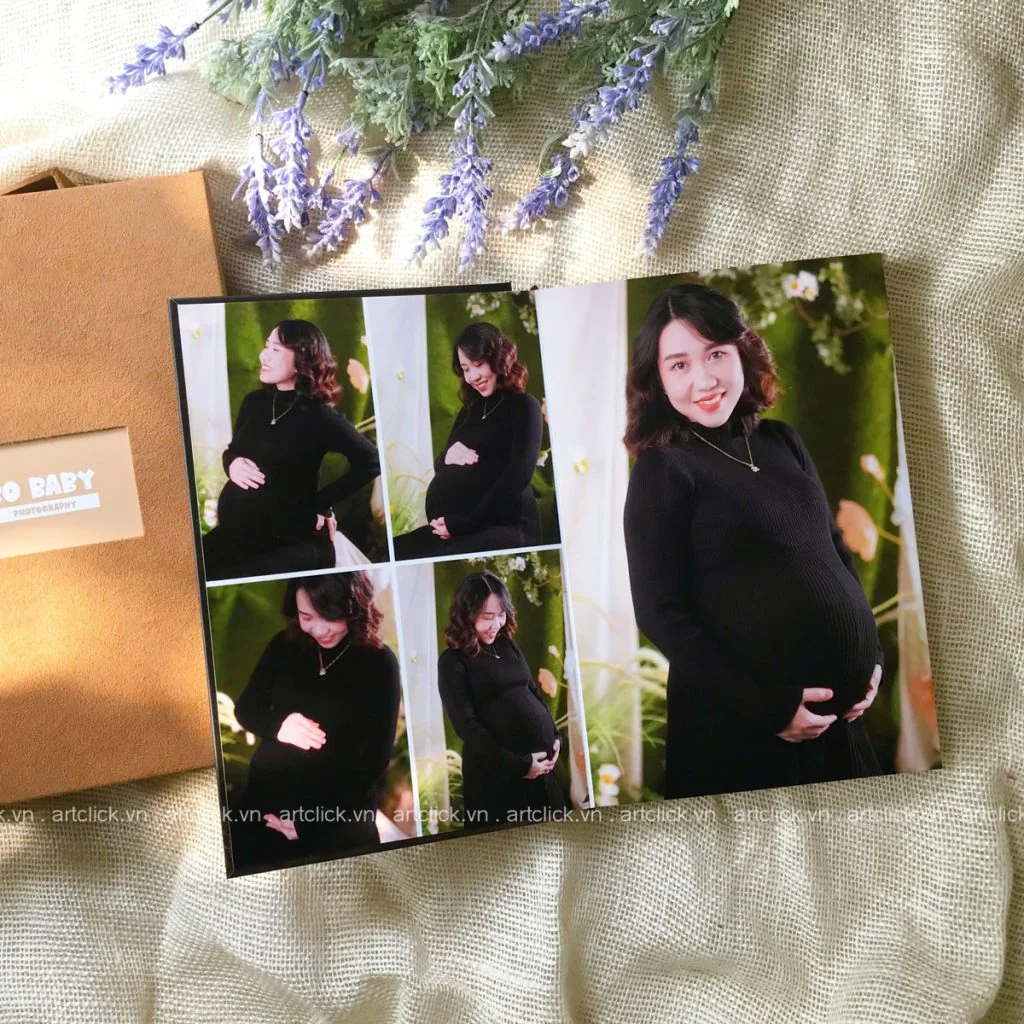
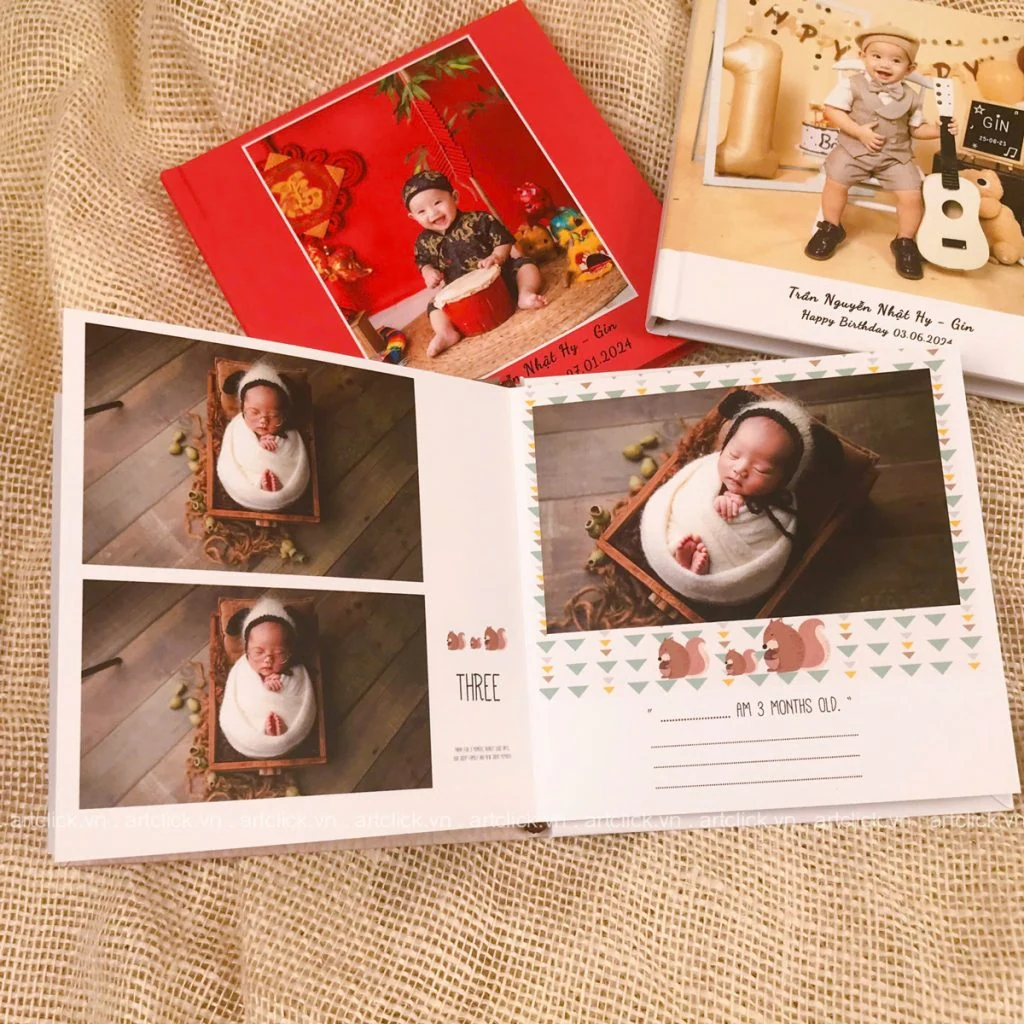
The first photo of a photobook, often called the "lead image", helps attract viewers and lead them into the book. This image should have a special, impressive expression or depth, increasing curiosity and attracting viewers to turn the next pages.
After thinking about the content and collecting and arranging images for your student photobook , you need to create a layout and start designing.
Suggesting a fairly strict layout and often used by young people is as follows:
1, Cover page design
2, Introduction page - a paragraph or poem and an impressive 'lead image'
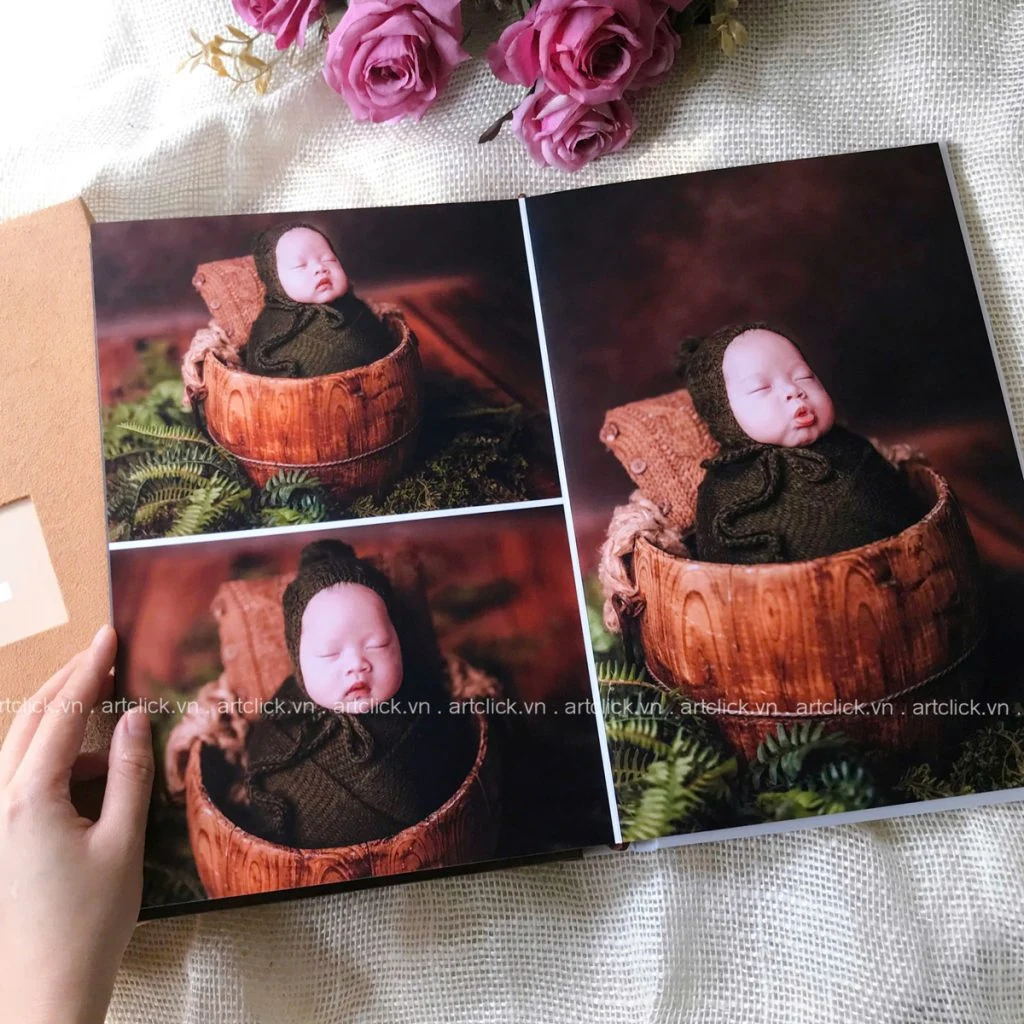
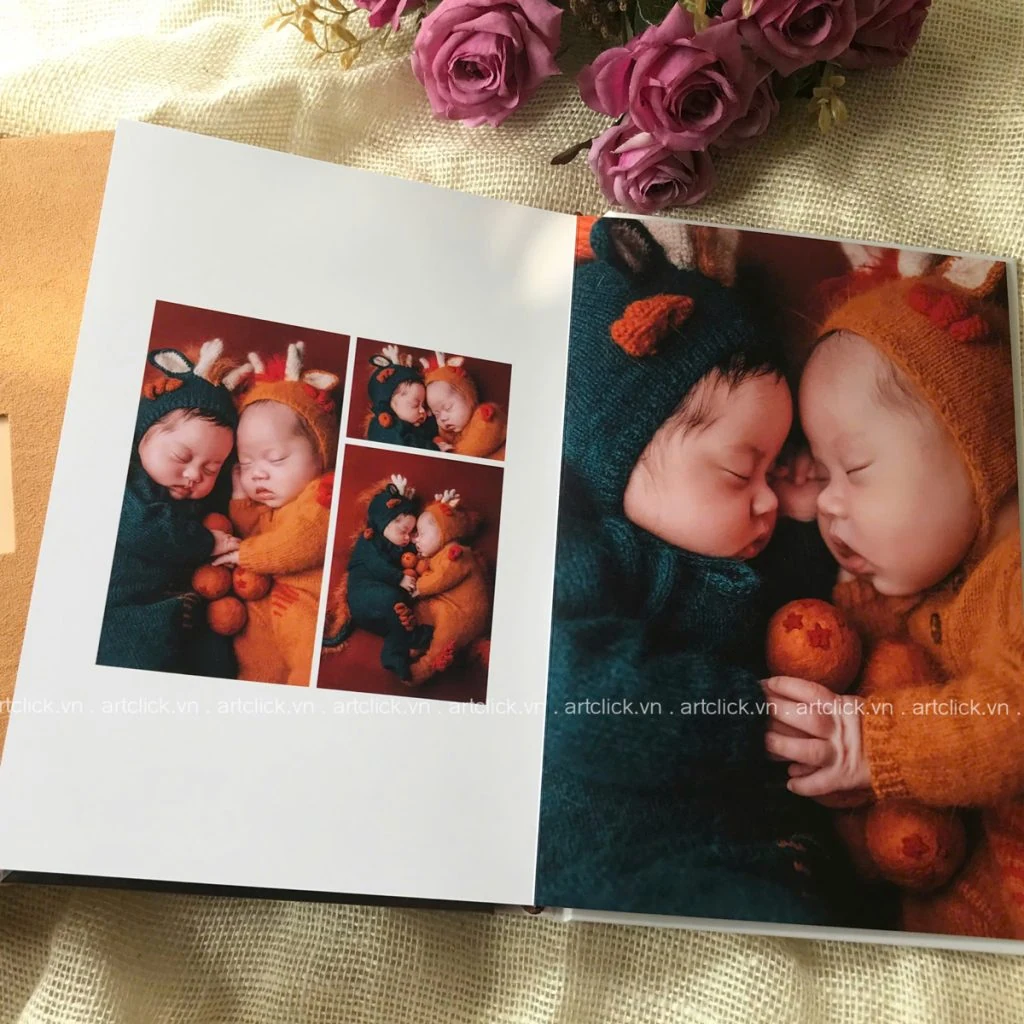
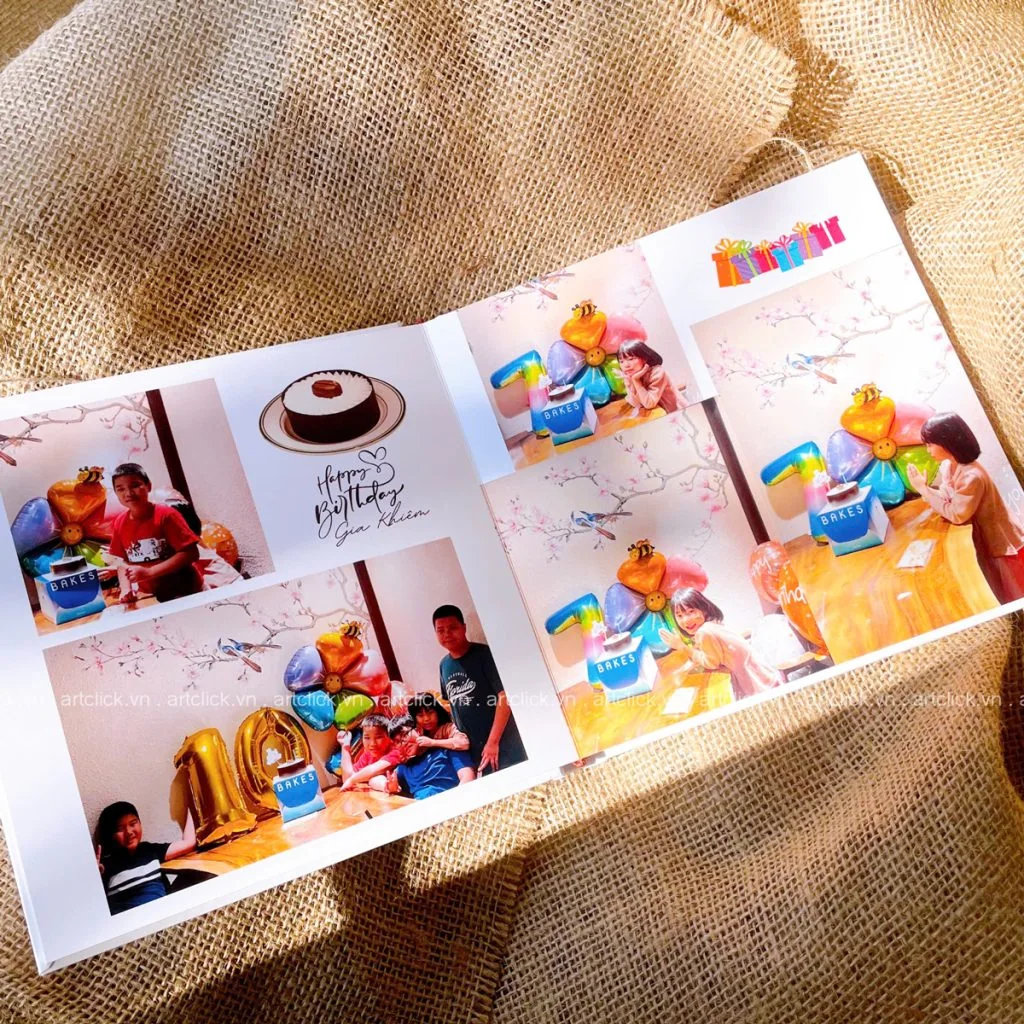
3, Group and individual images are designed according to the content you have planned
4, Guestbook (poems, essays, songs, drawings) - can be typed, decorated with pictures or left out for each member's own handwriting.
5, Equally important is the contact information of each member.
How to decorate a student's guestbook in a playful, lively or serious style depending on your personality and preferences.
A little tip for those new to design:
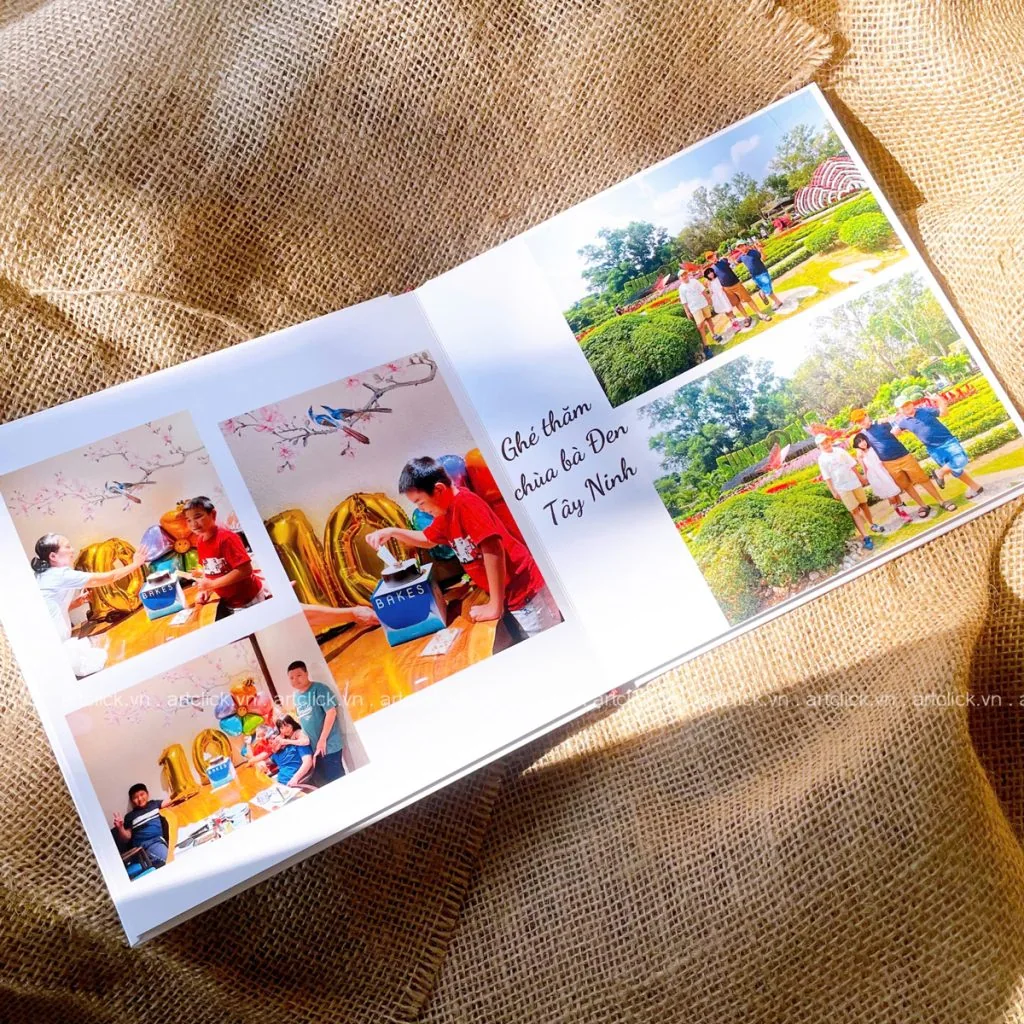
– The golden ratio when arranging a double photo page is 60-40 (62-38 to be exact) when dividing content on pages, creating balance and visual comfort.
– You can also think about adding text next to the image, helping viewers better understand the photo, making it easier to recall memories later.
Finally, there is the guestbook section, this section allows everyone to share their own memories or feelings, valuable experiences and lessons while in school, achievements, and future directions. coming, wishes for each other, poems, songs or simply the mood when about to leave each other.
Photoobook of the @wifi era – Share your feelings about each other and pictures together just by clicking click click
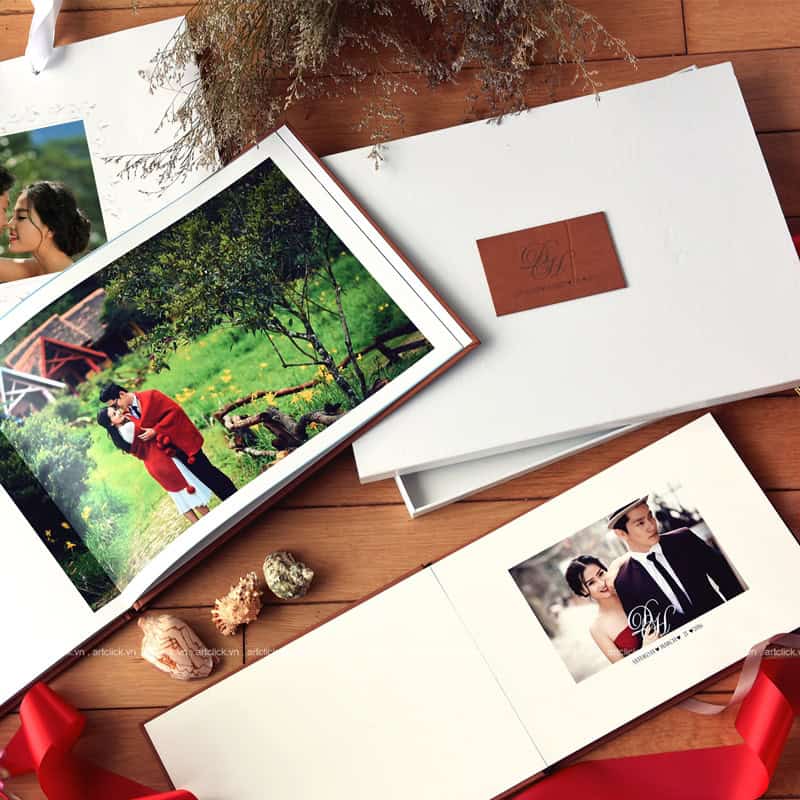
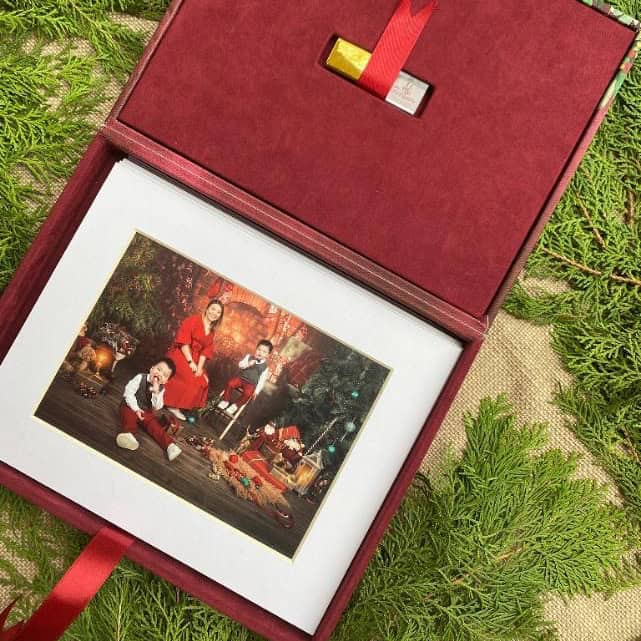
The book cover creates the first impression of your scrapbook photobook on viewers. It must be a photo that draws the reader inside. A photo of enough quality to excite readers, making them want to see more. If possible, find a photo that best describes the theme of the scrapbook photobook, so at first glance, the viewer knows what is in it.
After completing the design, you need to look for one trusted printing house to entrust this brainchild. Printers need to ensure color, paper material, as well as binding durability over time. After 5-10 years, our class will reunite and open this scrapbook photobook, still feeling the emotions of being together.
Finally, receive the finished photobook scrapbook that you designed yourself, show it off to your friends, or give it to teachers and friends, one for each person, saving beautiful memories of your youth.
With just 7 simple steps above, you already own a beautiful photobook.
Experience the online scrapbook making software with many of the hottest and most beautiful yearbook templates for students right away.
See more about Extremely unique student scrapbook decoration idea for close friends
Sự hiện diện của một thiên thần nhỏ trong gia đình là món quà vô giá mà cuộc sống ban tặng. Những ngày đầu tiên con chào đời, mỗi hơi
Giây phút tiếng khóc chào đời của con vang lên cũng là lúc cuộc đời của cha mẹ bước sang một trang mới đầy màu sắc và cảm xúc. Những
Làm mẹ là một thiên chức thiêng liêng và hành trình 9 tháng 10 ngày mang nặng đẻ đau chính là quãng thời gian chứa đựng nhiều cung bậc cảm
Tuổi thanh xuân giống như một cơn mưa rào, dù có từng bị cảm lạnh bạn vẫn muốn đắm mình trong đó một lần nữa. Những ngày cuối cấp, khi
Gia đình là tổ ấm, là nơi bắt đầu và cũng là nơi trở về của mỗi người. Trong nhịp sống hiện đại hối hả, những chuyến đi chơi xa
Những chuyến đi không chỉ là dịp để chúng ta khám phá những vùng đất mới, mà còn là khoảng thời gian quý giá để tái tạo năng lượng và
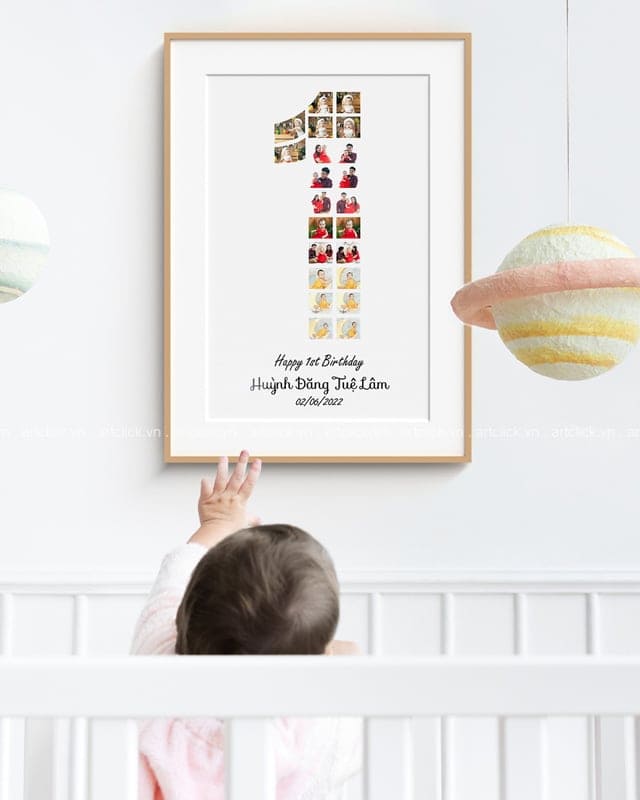
Mỗi năm, khi ngày sinh nhật của thiên thần nhỏ đến gần, lòng cha mẹ lại rộn ràng những kế hoạch. Ngoài việc chuẩn bị bánh kem, quà tặng và
Sinh nhật là cột mốc đánh dấu sự khôn lớn, là lúc cha mẹ nhìn lại hành trình một năm đầy ắp những kỷ niệm của thiên thần nhỏ. Trong
Mỗi năm trôi qua, con trẻ lại có những thay đổi kỳ diệu về ngoại hình lẫn tâm hồn. Ngày sinh nhật chính là cột mốc đánh dấu sự trưởng